What you’ll learn
How to build a modern fence that looks the same on both neighbors’ sides. Materials cost only ~$1200 for 100 linear feet, or about $16/linear foot. It’s a lot of labor, but multiple times less than paying for labor.
Design
Requirements
- Cost-effective since we were splitting with neighbors
- Metal fence posts, so doesn’t rot
- No gaps through the wood after it shrinks
- Bottom raised off the ground by a couple inches so the wood doesn’t rot
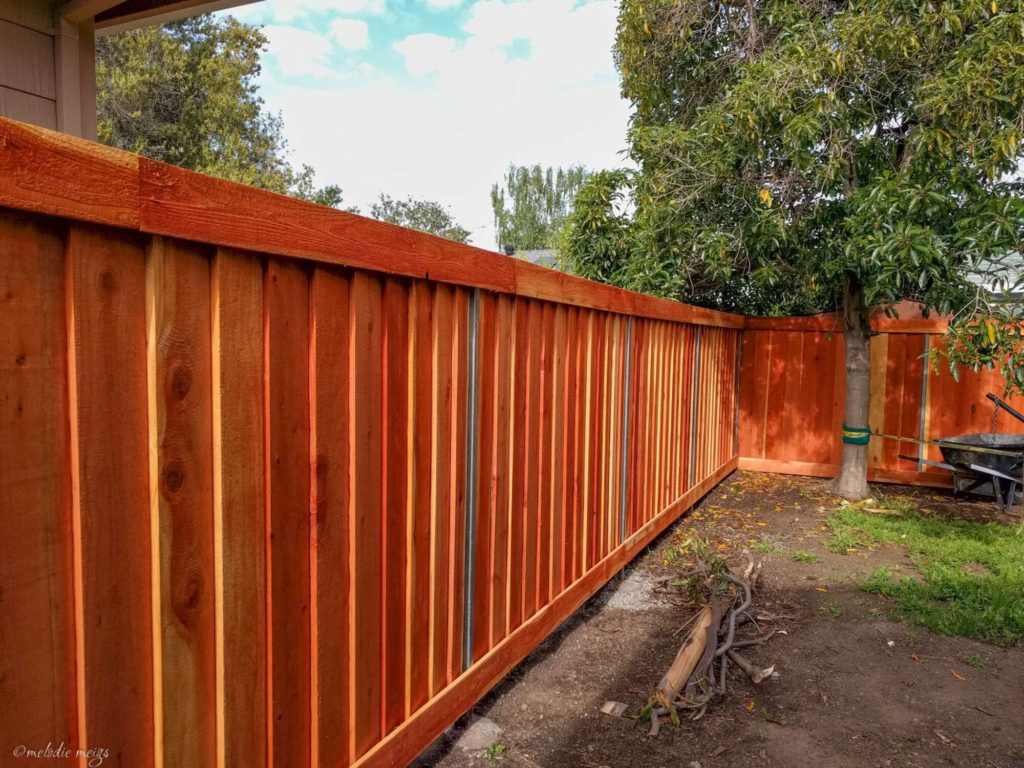
- “Pretty” on both sides
- Uniform design through the length
As compared to our final design above, the typical “good neighbor” fences violated at least one of the requirements above.

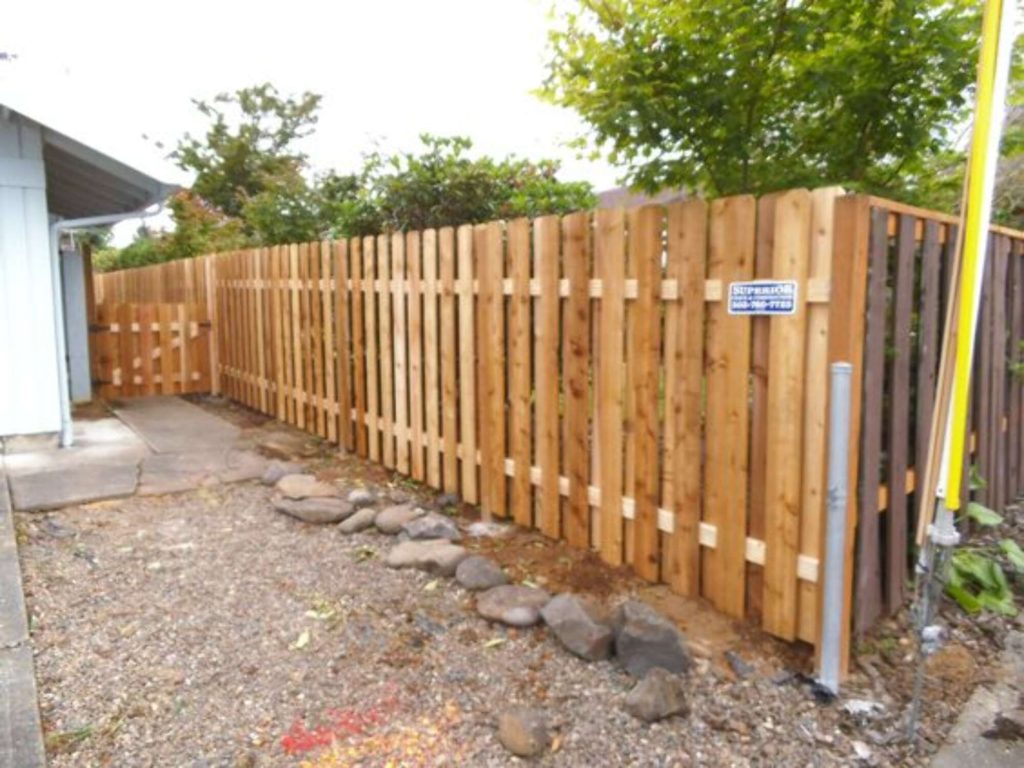
You can buy pre-made redwood or cedar fence panels at Home Depot, the ones with the lattice on top, but they’d also violate #3, and since our property’s slightly sloped, you’d have to mount them staggered instead of having a continuous, gradually sloped top line.
Materials
For a single length (typically 8ft):
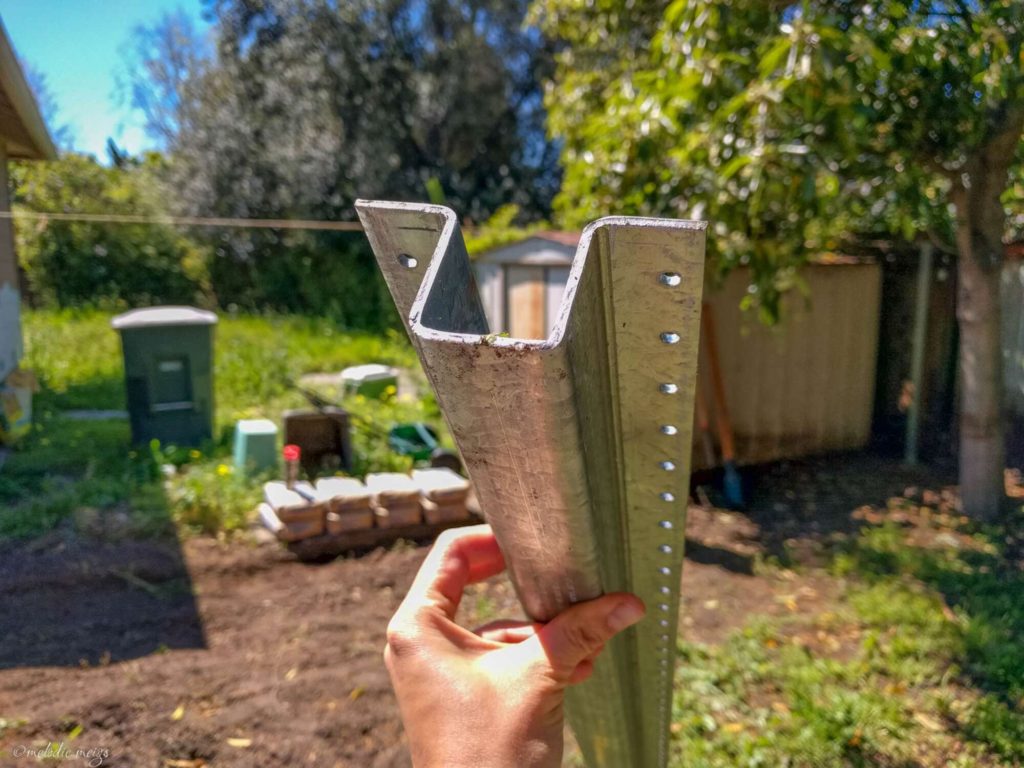
- [2x] Postmaster fence posts (you can find at Home Depot)
- [2x total length] 2×4’s (the runners for the top and bottom; you can get pressure-treated for the bottom)
- [4x total length] 1×6 fencing boards (runners for top and bottom, see below)
- [(length in inches / 6.5″)] 1×8″ fencing boards
- Fence post concrete (it’s a thing at Home Depot)
- screws, drills, chop saw, etc.
The star of the show was the Postmaster metal fence posts. No more awkward round fence posts that have brackets to mount to the wood! The Postmasters let you mount your fence up flush against the post and look great on both sides.

Overview of what we’re building
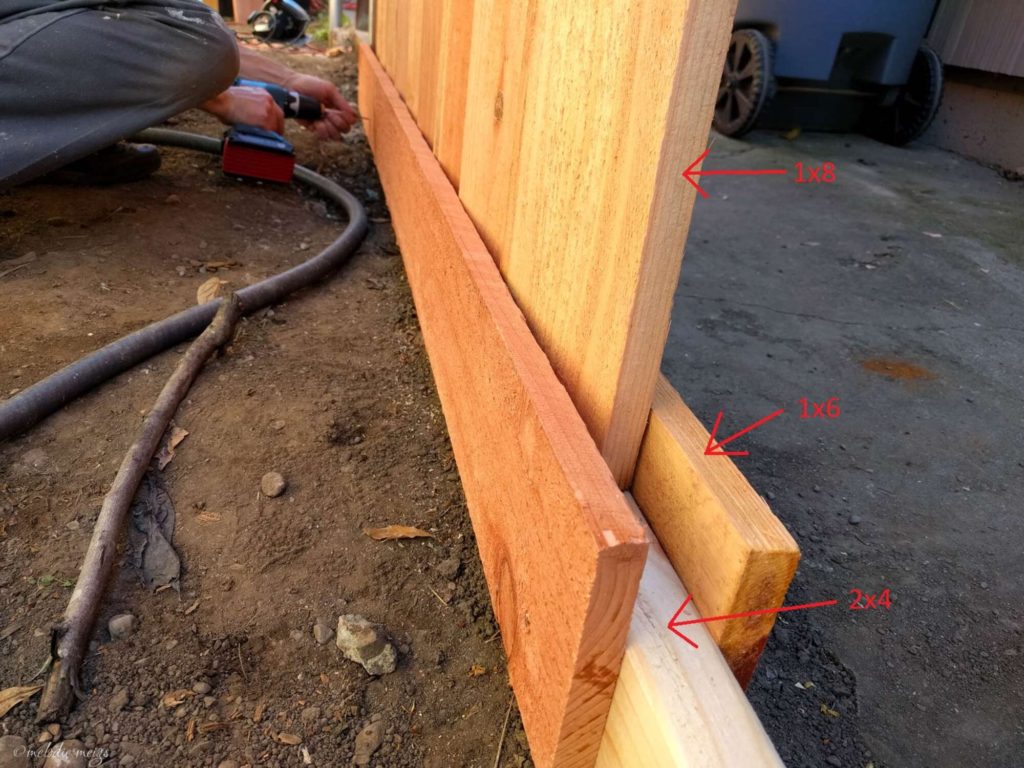
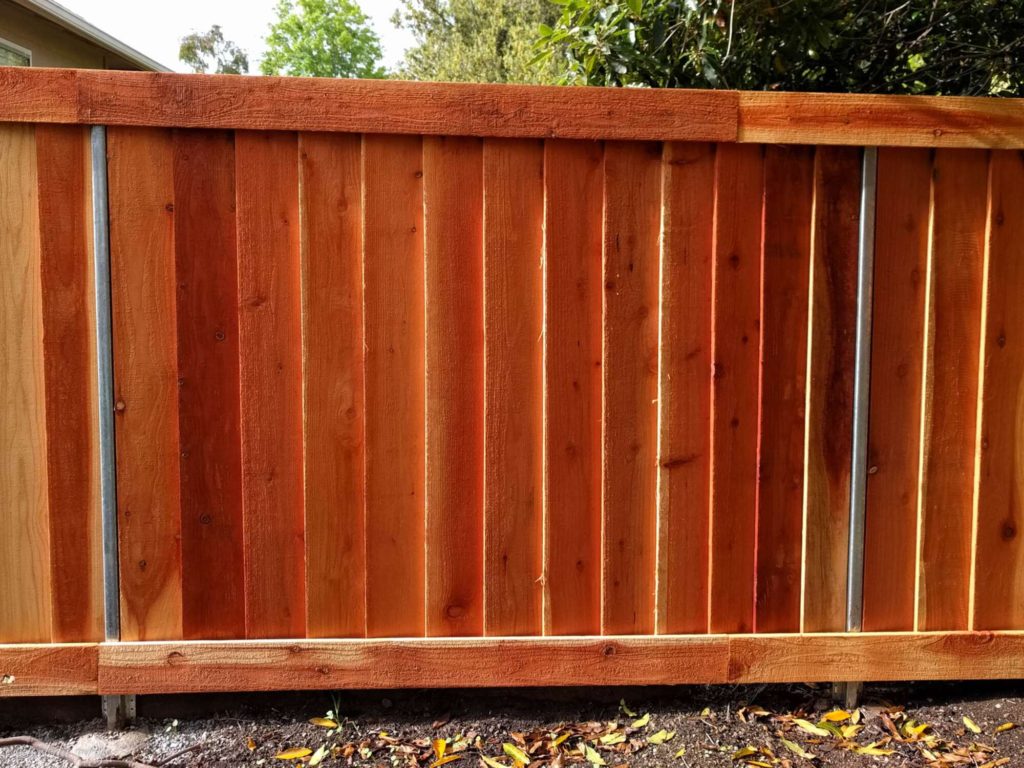
There’s a 2×4 on the top and bottom onto which everything’s mounted. The 1×6’s are mounted on either side like a container, holding in the 1×8’s, which are positioned at an angle and overlapping each other (to avoid violating #3). The width of the 2×4’s is just enough to allow this diagonal overlapping while keeping the 1×6’s flush to the 2×4. The vertical 1×8 boards show 6.5″, in other words, roughly a 1.5″ overlap (though since they vary in width a bit, measure the 6.5″).
Step 1: Sink New Fence Posts
To make a straight line, tie string around the end posts, assuming they’re already placed–or place those first. Measure off the length of each section, which is typically 8ft, and mark those, as you can see below with bows knotted on the string:
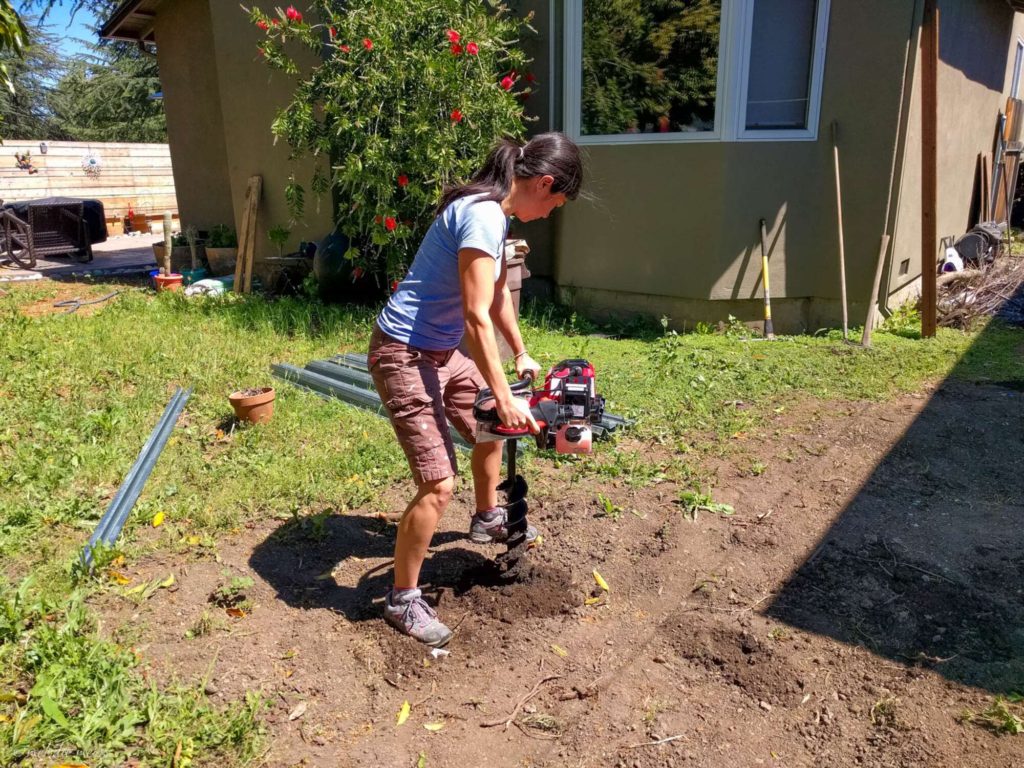
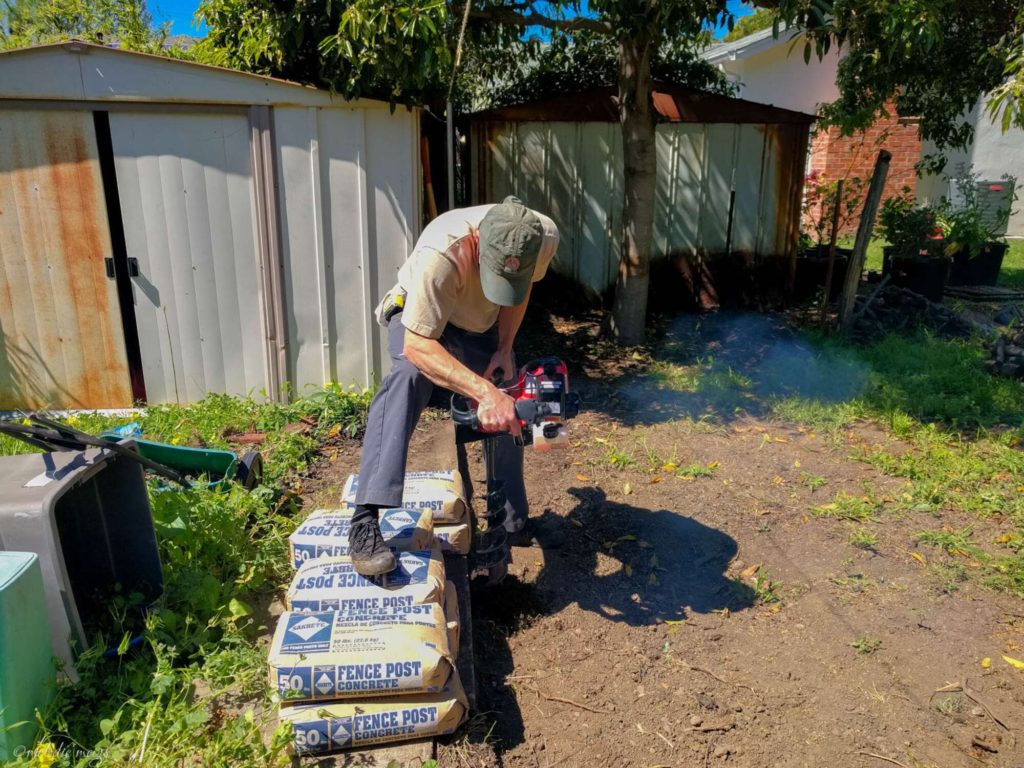
Next, drill holes minimum 18″ deep, up to 24″. We were lucky enough to borrow an auger.
Mix concrete per directions, place fence post in hole, pour concrete around it, and use a level to make sure it’s vertical. Let sit for a day.
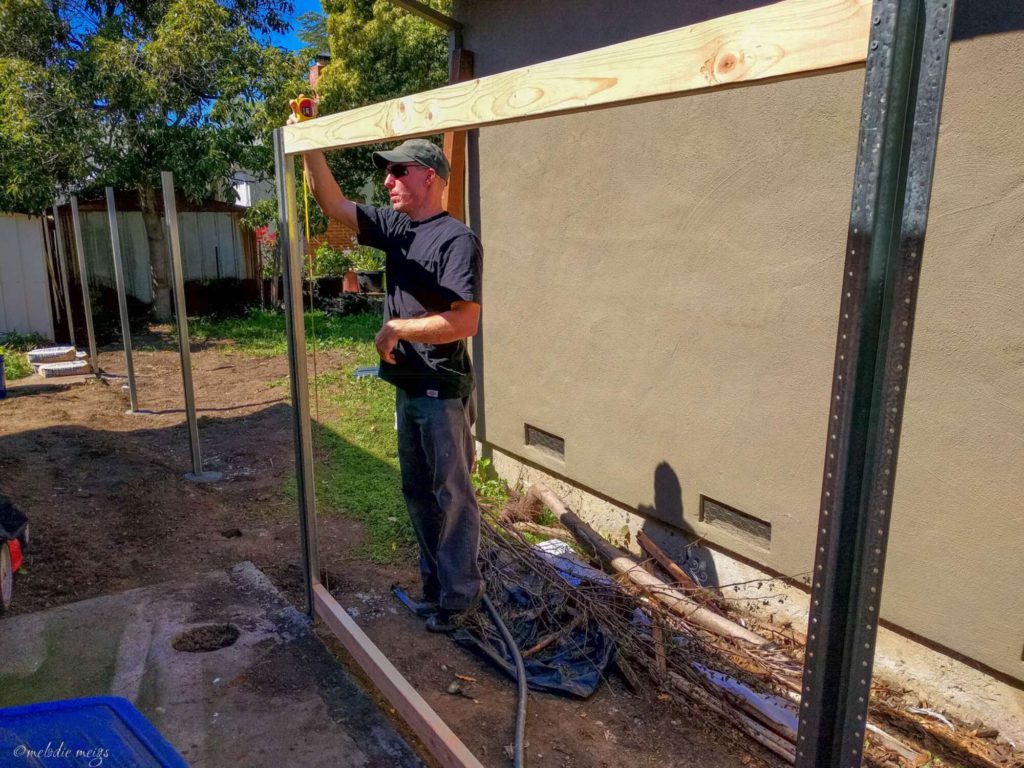
Step 2: Construct the Framework
First mount the 2×4’s to the Postmaster. Choose any of the many holes! Don’t worry about getting a perfectly straight line yet, since it’ll be covered by the 1×6’s in the next step.
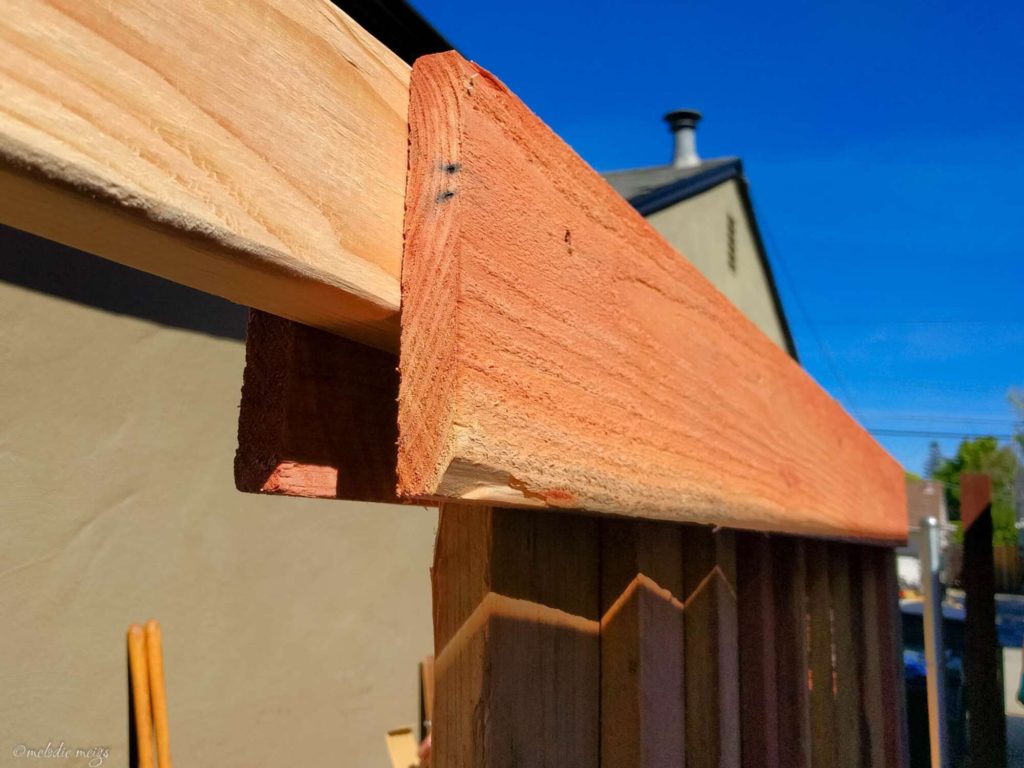
The 1×6’s will be used as facing plates on the top and bottom, on both sides. The 1×6’s usually come in redwood or cedar with dog ears on one side. Chop saw the ears off.
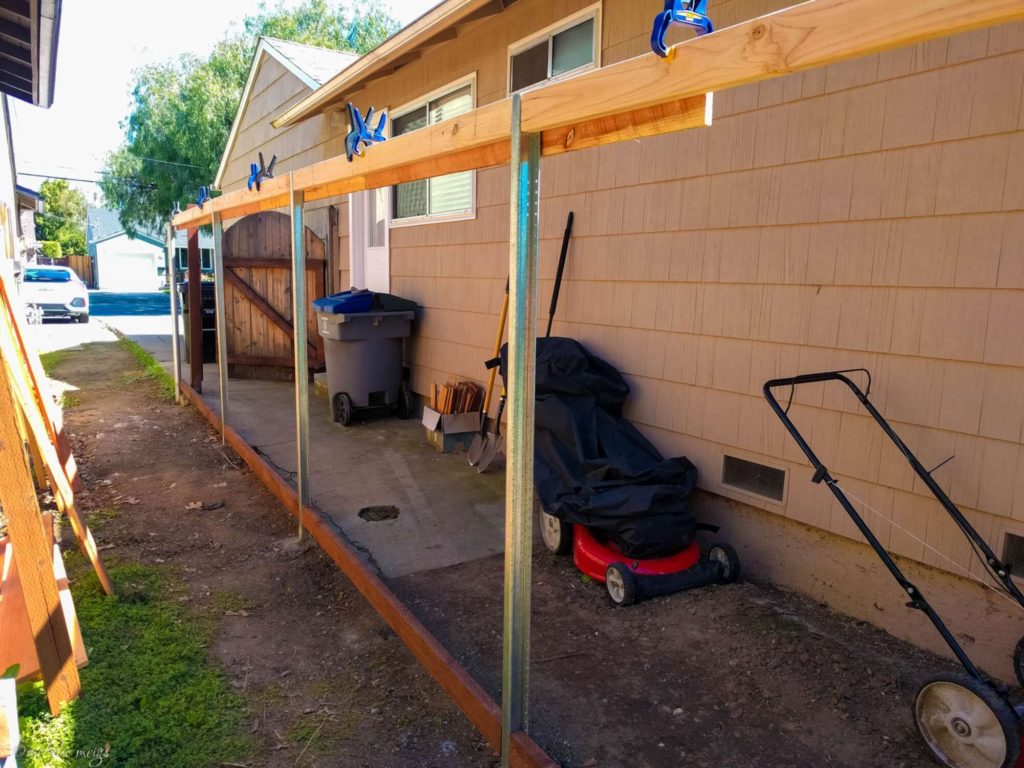
Next, mount the 1×6’s to the 2×4’s. We did multiple lengths at once so we could make sure they gently sloped. Screw in place.
Opposite side view of the above picture:
Step 3: Mount the Vertical Boards
You’re going to mount the 1×8’s between the 2×4’s, so that they’re resting on top of the bottom 2×4. Mount the first straight, then begin angling the boards. We made a guide from an old piece of plywood that was 6.5″ wide so we could quickly get the boards straight and uniform. The overlap was roughly 1.5″.
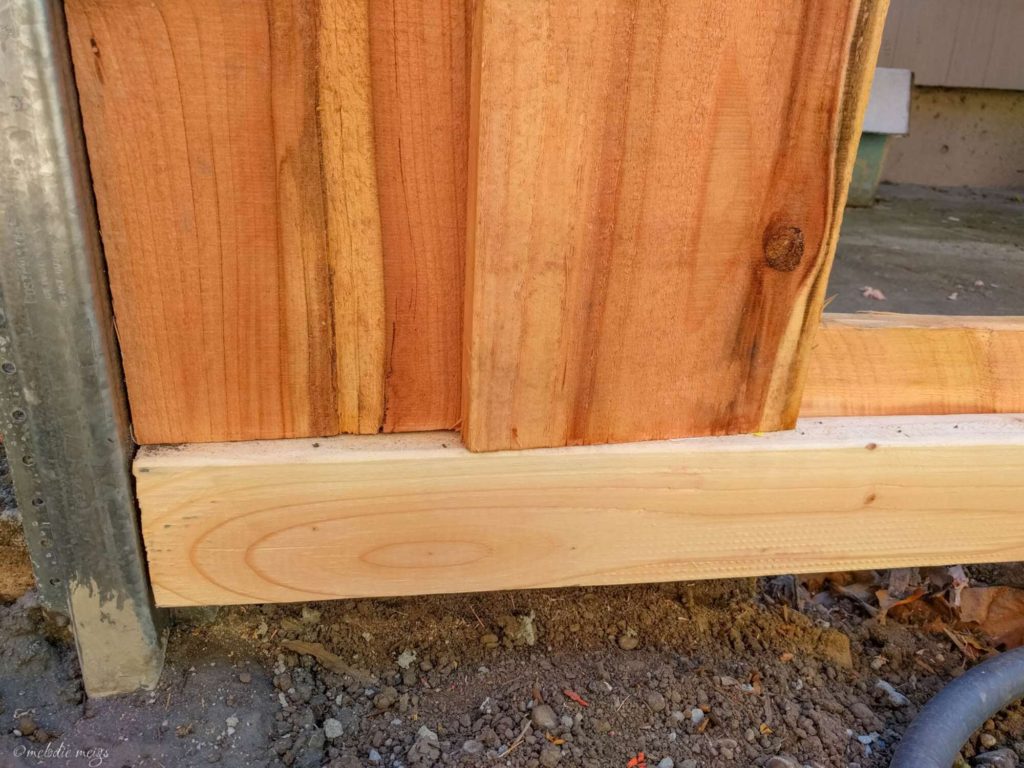
This is what it looks like after you’ve got a few mounted. Screw each board in closer to the side that’s touching the 1×6 on the back. 1 1/2″ screws were just right to catch the 1×6 without poking through.

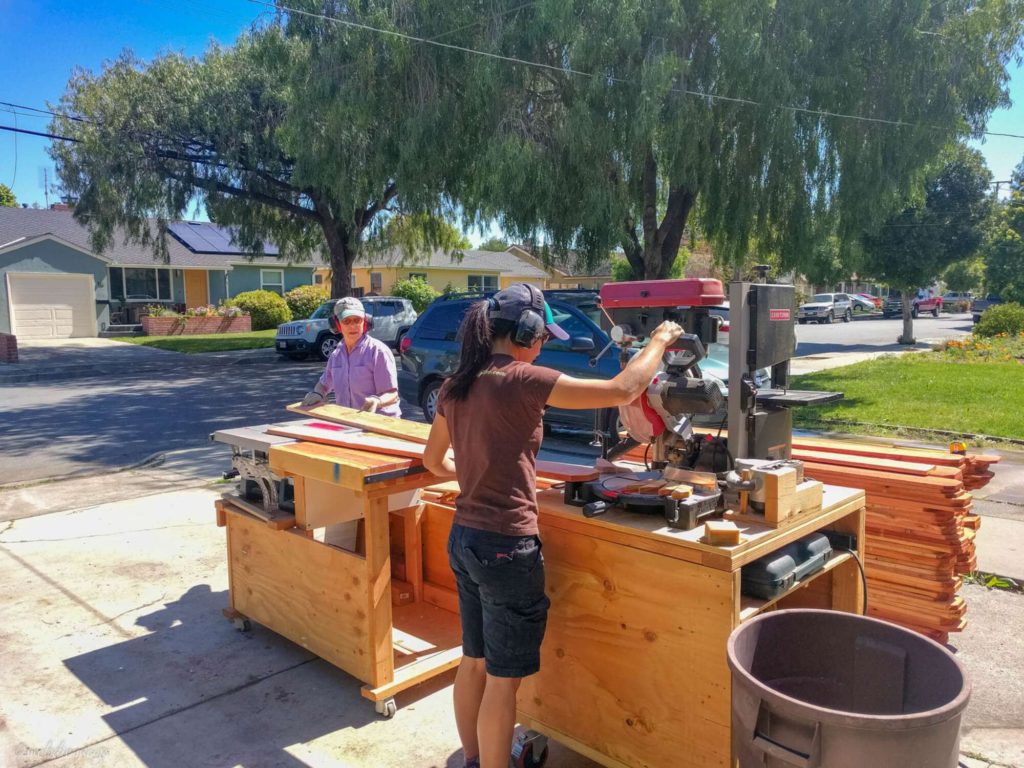
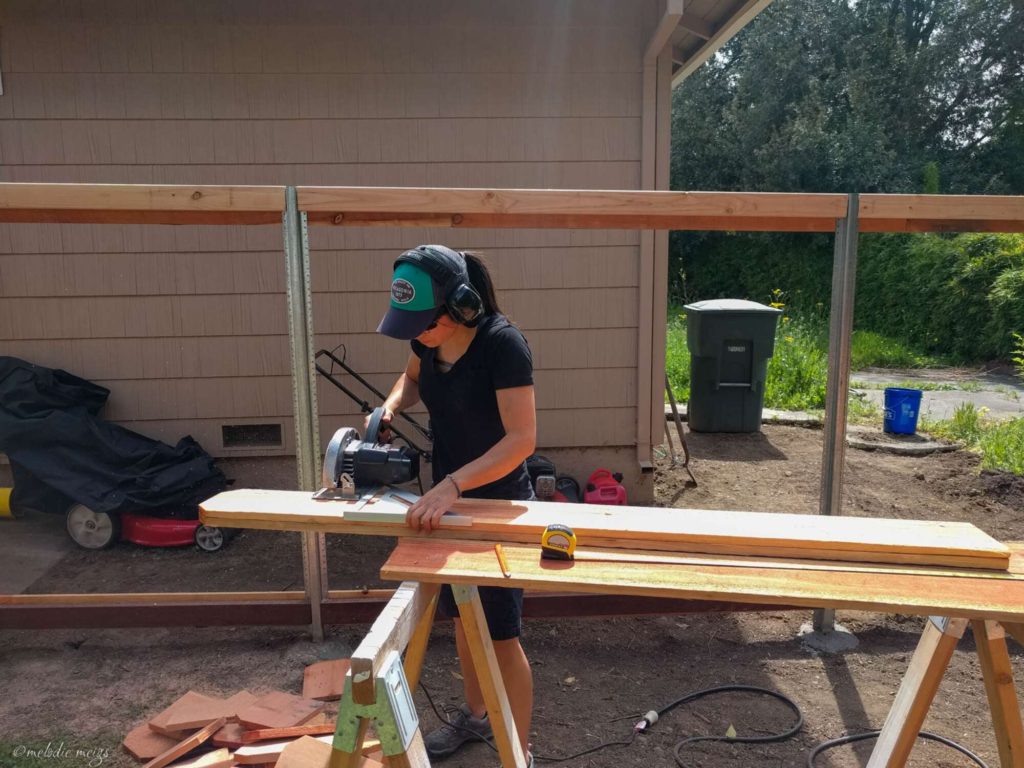
Since the height of the fence varied a couple inches throughout the length, we had to measure every few feet and cut boards to length. We had one person cutting and one person screwing in the boards.
Note that when you get close to the end of a section at the next fence post, you’re not going to have a perfect board width. But, if you’ve made 8ft sections, it’s close enough to a multiple of 6.5″ that you can jigger with the last few boards to even it out and no one will know.
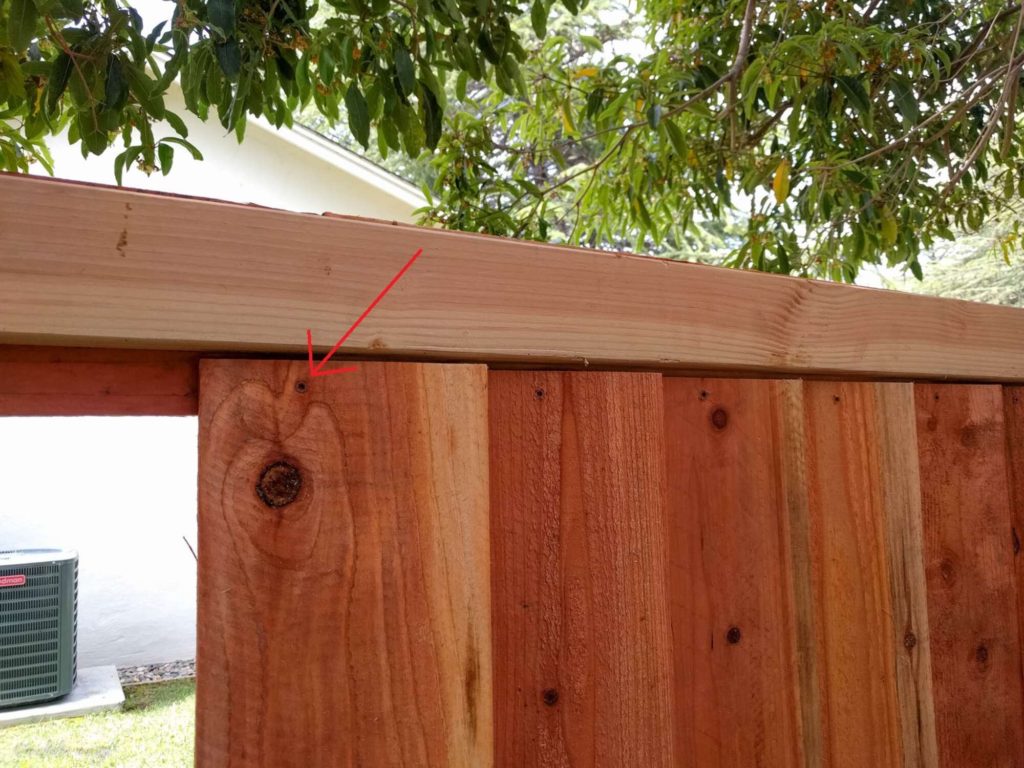
Step 4: Put Finishing Pieces On
At the end of a section, mount 1×6’s on the other side.
Step 5: Finish
You can keep the metal bare or cover it with a thin board!
→ Explore more articles in DIY Home Projects