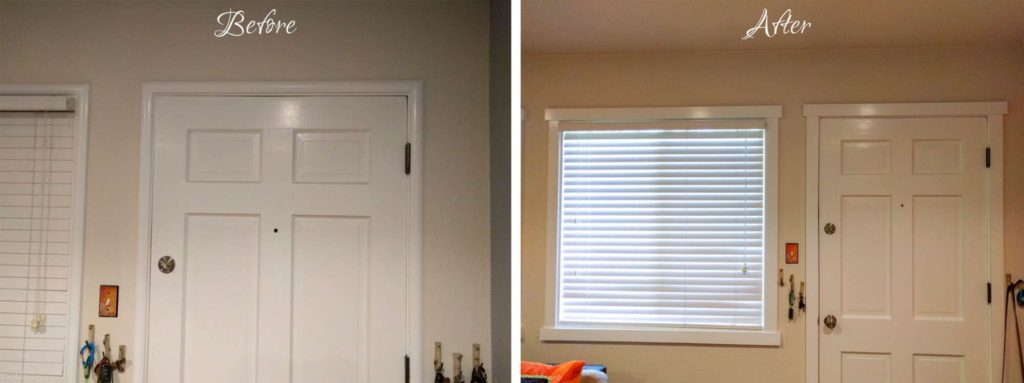
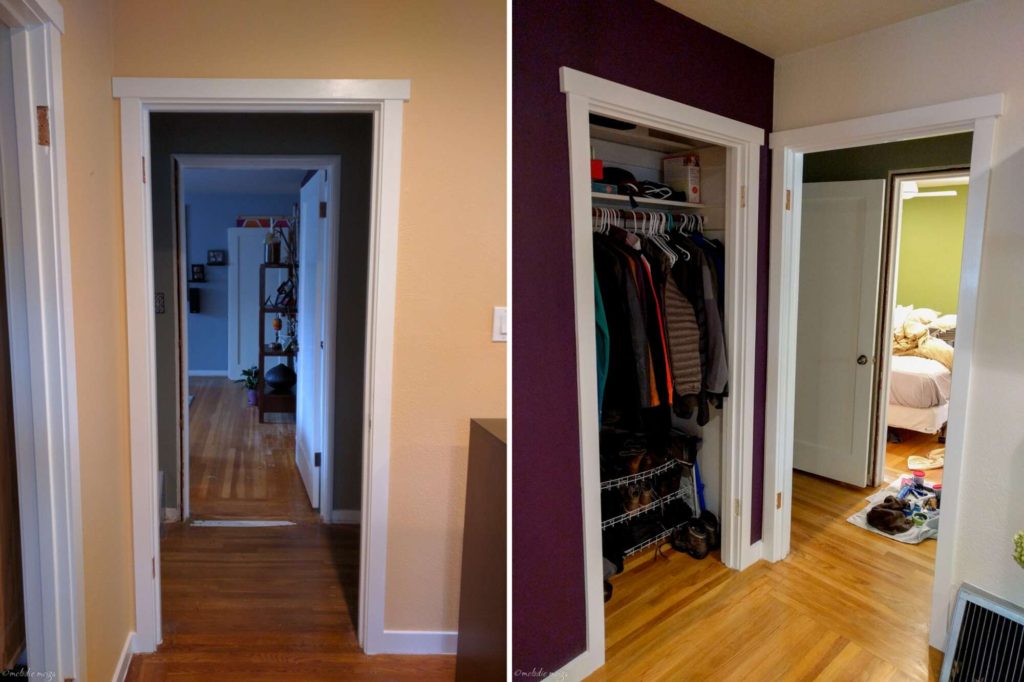
What’s that you don’t see? Nail holes! It seems so simple, so easy to putty and paint, but those holes are really hard to hide completely (really, look at your friends’ houses).
Here’s the step-by-step guide on how to get deliciously smooth trim.
The Headache
The problem with common trim is that it’s made out of MDF (medium-density fiberboard), so any bit of water, like from water-based paint and putty, will make it balloon out like pressed wood.
The putty technique most people use often results in divots inside the hole, so you’re left with a depression inside the hole and a raised bump on the outside from the MDF.
This painstaking method takes 3 days to complete a section of trim, but the results are soul-satisfying.
Materials
- MDF boards
- Pneumatic nail gun


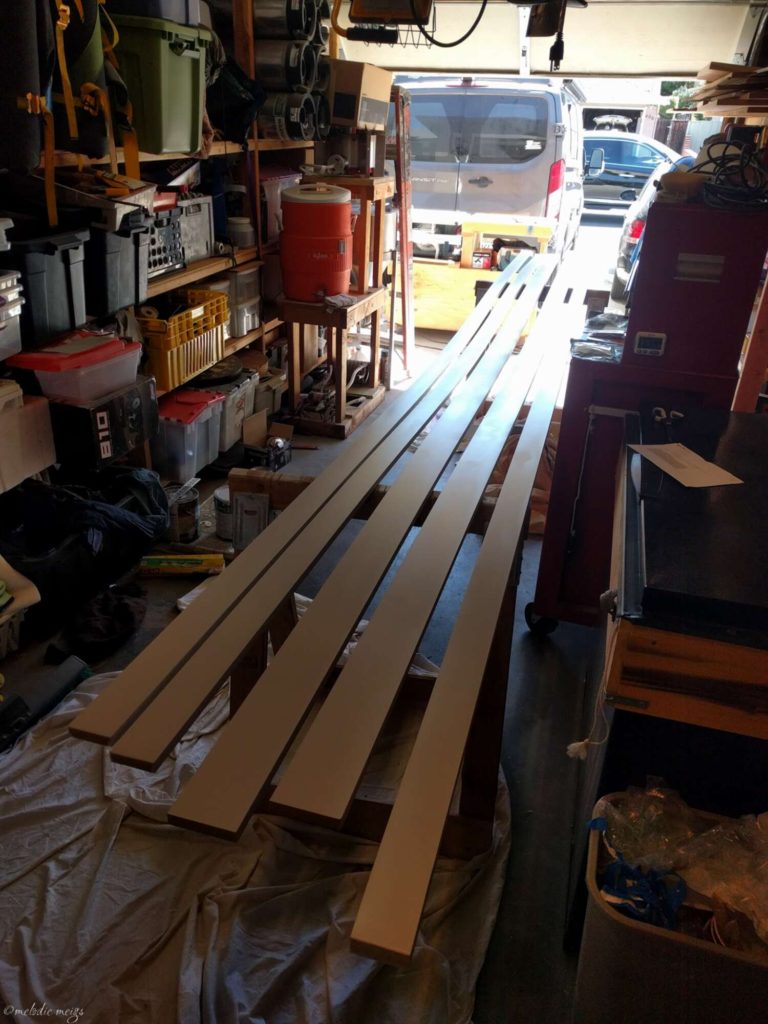
Step 1: Spray or brush paint the MDF boards
MDF boards are usually already pre-primed but a good coat now will make it easier later. You won’t have paint the baseboard where it meets the floor; you’ll just have the nail holes to paint.
Step 2: Cut the baseboard or trim piece to height & length
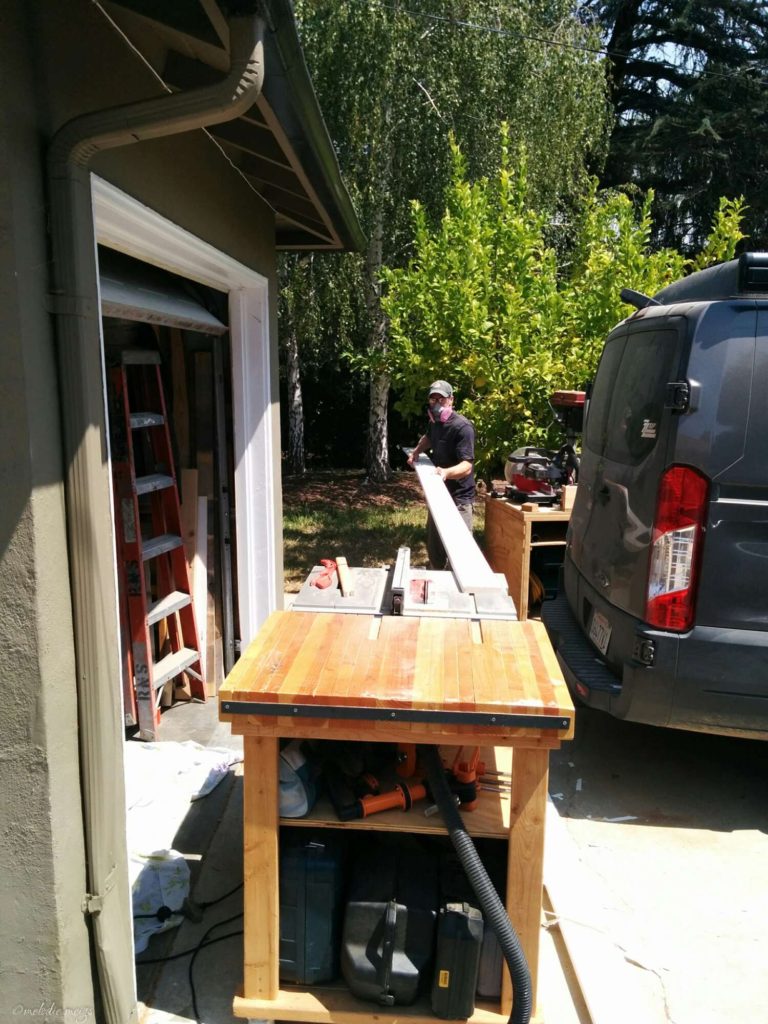
Step 3: Nail gun the baseboard or trim to the wall
We used a pneumatic nail gun with an air compressor.
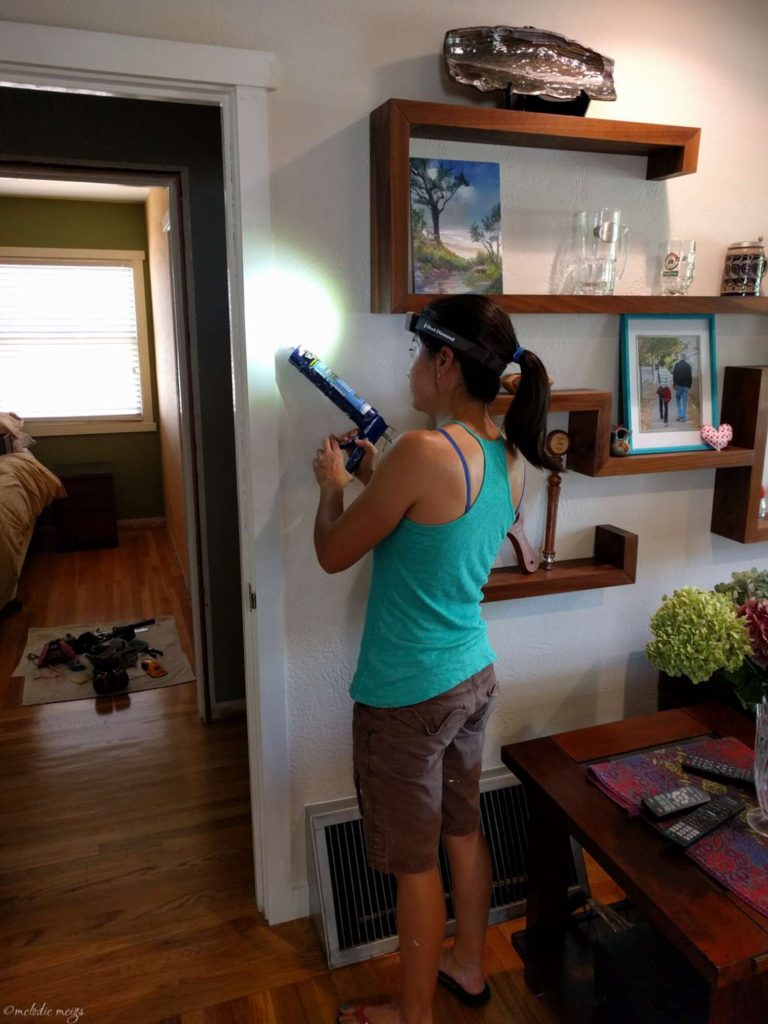
Step 4. Caulk the seams
From here on out, use a headlamp all the time to see small imperfections. Amply caulk a length, then run a wet finger over it to wipe away excess. You’ll waste about half the caulk. I kept a small mug of water to re-wet my hand and a damp cloth close by.
Step 5. Sand the nail holes
The pressure of the nail gun will cause a “mushroom” to balloon out of the hole. Use 220grit sandpaper on a sanding block to get it smooth with the rest of the board. You’ll remove the primer paint you put on.
Step 6. Vacuum dust out of nail holes
…and wipe down with a slightly damp cloth. If you leave the dust from your sanding in the holes, it’ll expand when you putty the hole and you’re back to mushroom.
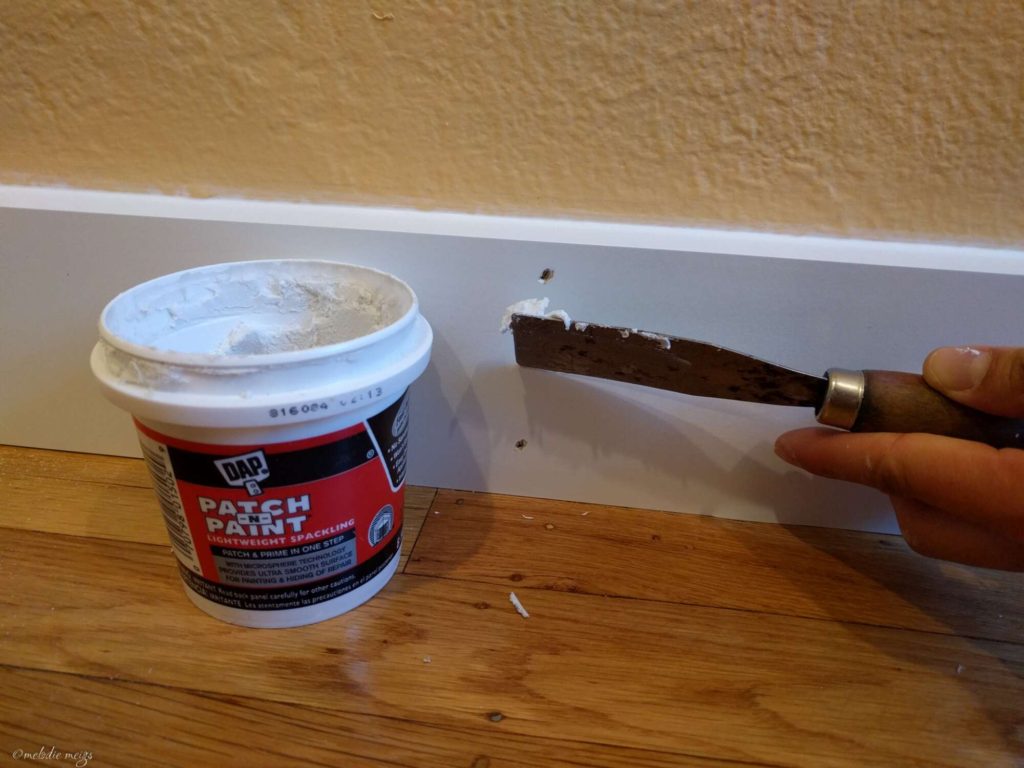
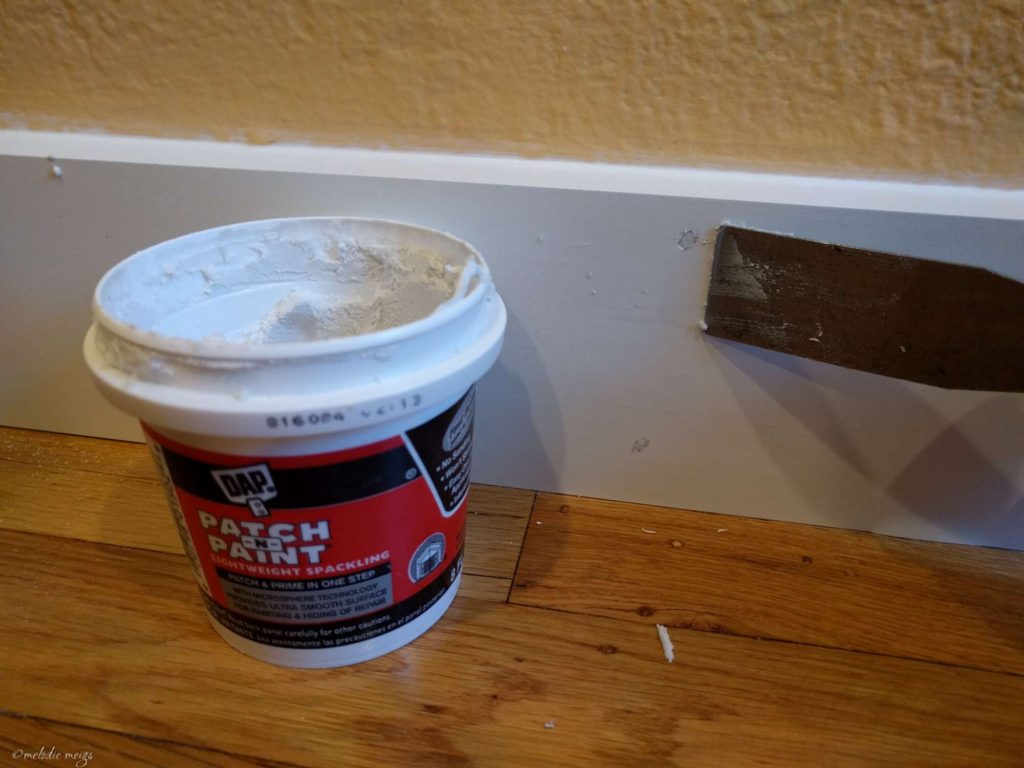
Step 7. Use lightweight putty in nail holes
…and let dry overnight. Don’t use the heavier pink putty–that works better in drywall. The lightweight putty will mushroom less. Note: this putty dries out fast so get the small container.
Step 8. Sand the holes again
The next day, after the lightweight putty dries, sand putty holes with that sanding block and 220 grit sandpaper.
Step 9. Repeat
Put a coat of lightweight putty on the holes again–often the putty will collapse in, so you want to get that divot perfectly level. Let it dry (less time than overnight) and sand again.
Step 10. Lightly wipe away dust with damp cloth
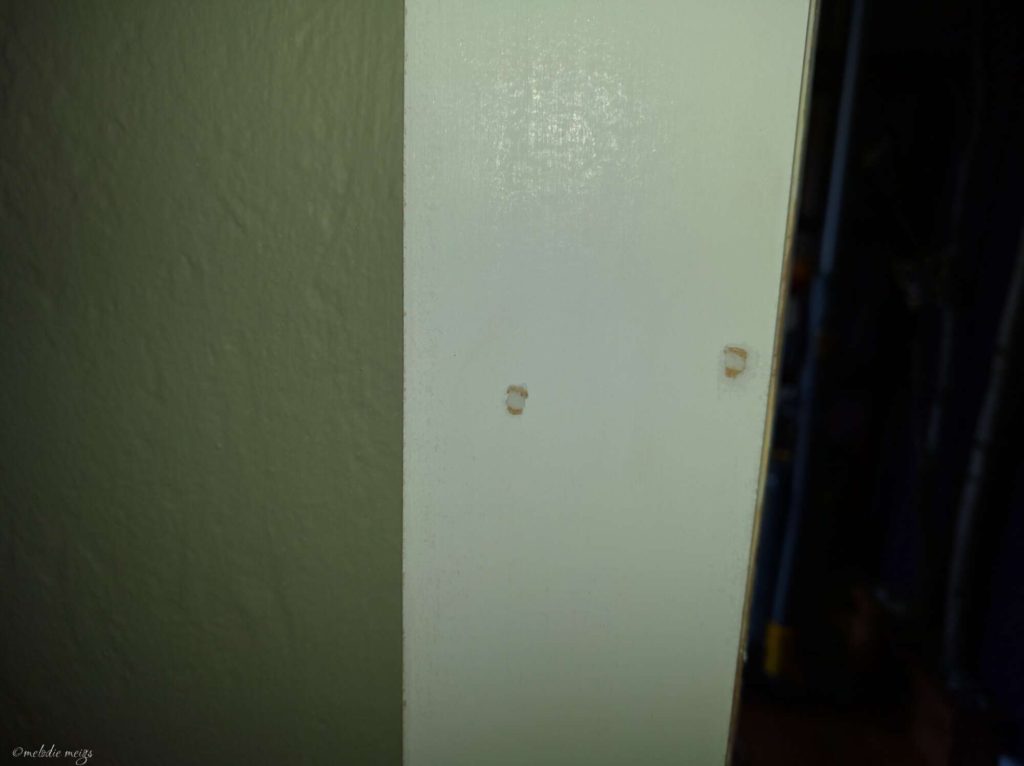
Step 11. Run your fingers over the trim with your eyes closed
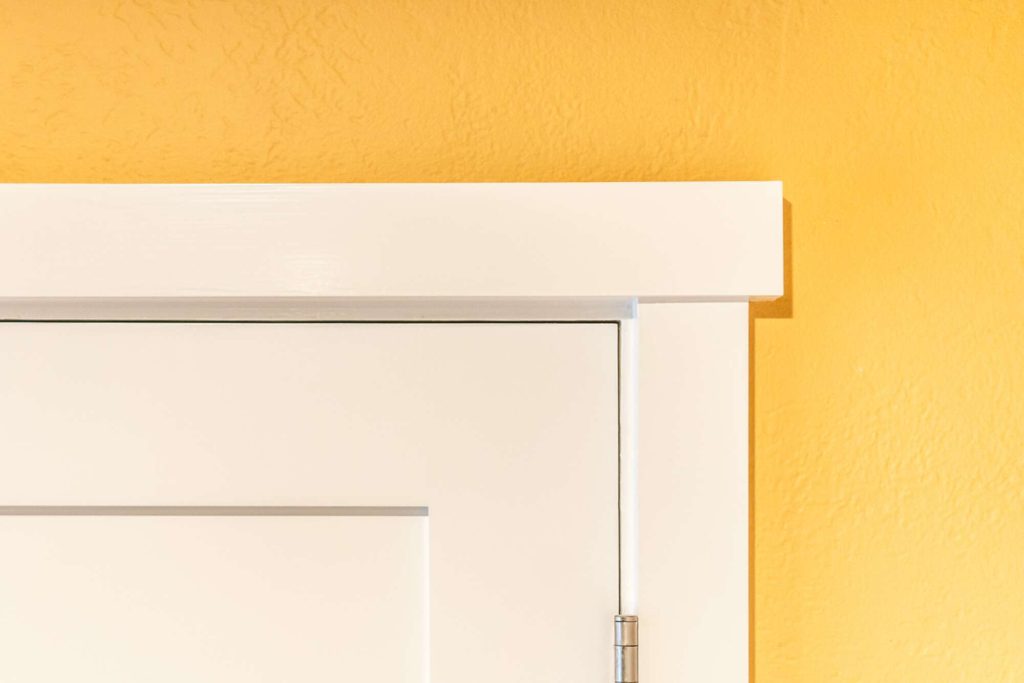
If you can feel anything, you’ll be able to see it when you’re done. Re-putty if needed. Here’s what a ready-to-paint hole typically looks like. The edges of the mushroomed nail hole are sanded off, the putty is perfect with the wall, and your pre-painted board is pretty sanded.
Step 12. Oil Primer
Put a thin layer of oil based primer over the puttied areas and exposed ends of MDF to seal it. Let dry. The oil seals the exposed pressed fiberboard, else water-based paint will mushroom it again.
Step 13. Water-based paint
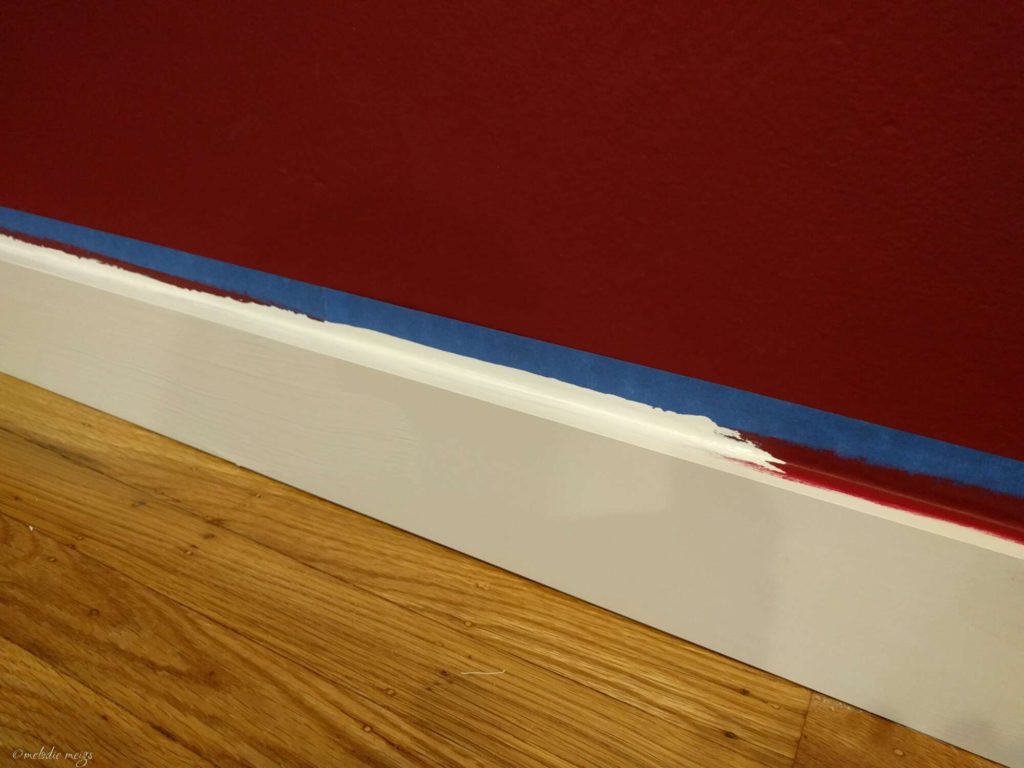
From here, use your favorite method to get a perfectly straight wall-trim paint line. I did it with tape and a double-cut method since painter’s tape doesn’t block paint perfectly, especially on textured walls.
Ex: Put painter’s tape on the wall at the seam. If your wall is red and trim white, paint the edge of the tape with red to seal the tape. This will prevent the tape from leaking when you paint white on it (and every painter’s tape leaks, no matter how good their marketing).
Paint the trim with 2 coats of white, being careful not to paint your newly refinished hardwood floor! Peel off the tape while the 2nd coat is still wet. I found it best to peel off the tape at a very sharp angle.
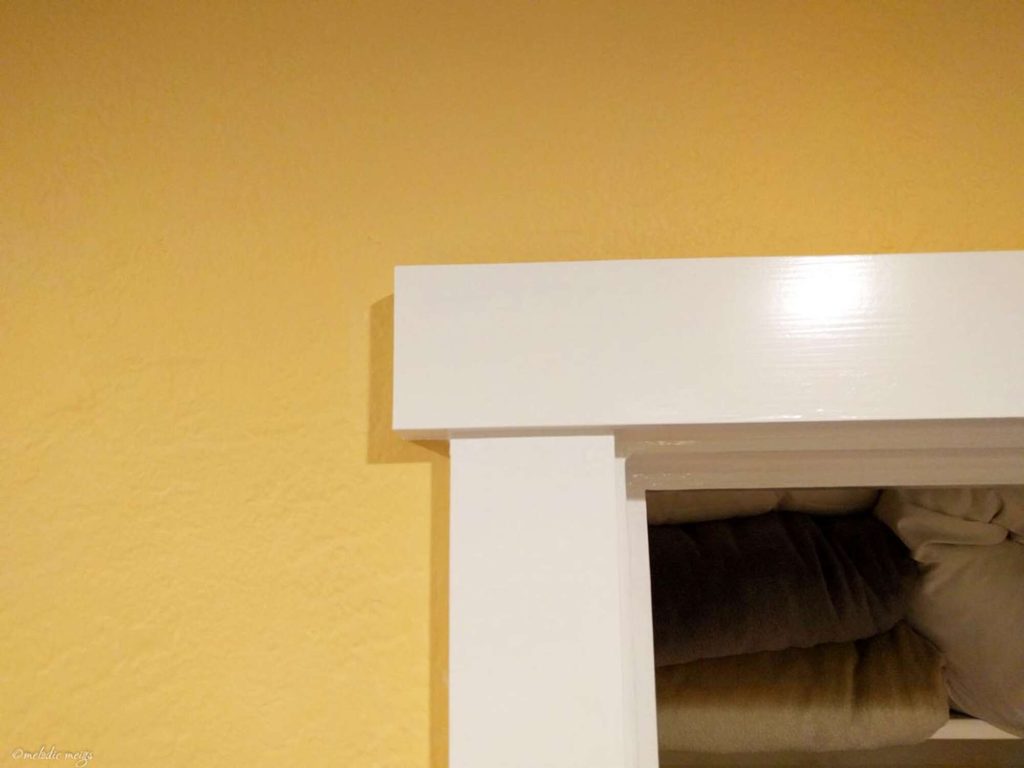
Fin. So satisfying.
→ Explore more articles in DIY Home Projects