Raw Edge Applique Quilt

raw-edge applique quilt

It’s a labor of love to know who you’re making a custom quilt for: from design to finish, it’s like writing a story, starting with broad strokes of a storyline, sitting and staring, filling in chapters with detail, until your canvas feels complete and right.

Brand, the lovely recipient of this quilt.

Stats

  • Size: 60″x80″
  • Time: ~50hrs 
    • 5hrs initial design
    • 6hrs quilt top + sandwich
    • 24hrs applique
    • 12hrs quilting
    • 2.5hrs binding
    • All times include pondering, staring, and designing along the way
  • Cost: $300 / $450
    • $40 wool batting
    • $10 thread
    • $40 temporary spray adhesive for sandwich + applique
    • $55 flannel backing
    • $140 fabric for tree and quilt top
    • = $300 out-of-pocket for this project. I had 30 prints and 7 thread colors already in my stash. If you’d buy the minimum 1/4yd of each fabric at $12/yd + thread at $10/spool, it’d add another ~$150.
  • Fabric
    • 41 different print fabrics
    • 100 pieces of fabric

A handmade quilt is a piece of love and, among other crafts, undervalued for its time and expense in today’s world of machined consumer goods. I’m often asked if I’d sell my products–but at Sunnyvale’s minimum wage of $13/hr, it’d be $650 in labor alone, or a total of $1100! The next time you browse Etsy or go to an Arts & Crafts fair, I encourage you to appreciate and think about the time (in years) it took someone to perfect their craft. It’s truly amazing!
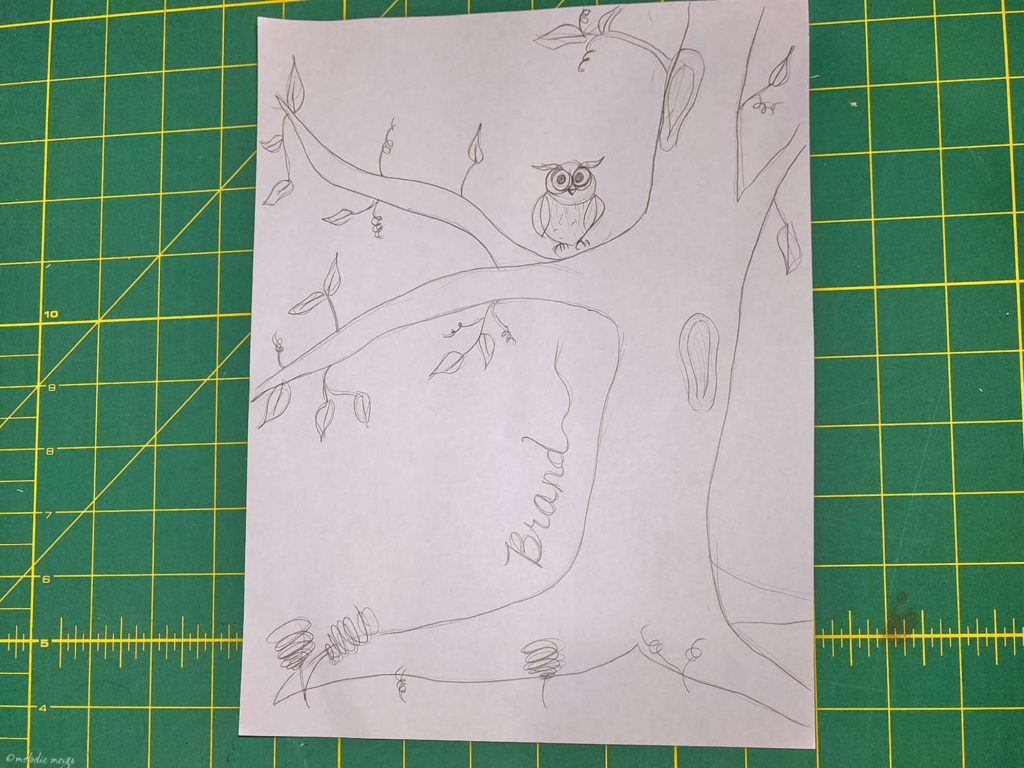
Design

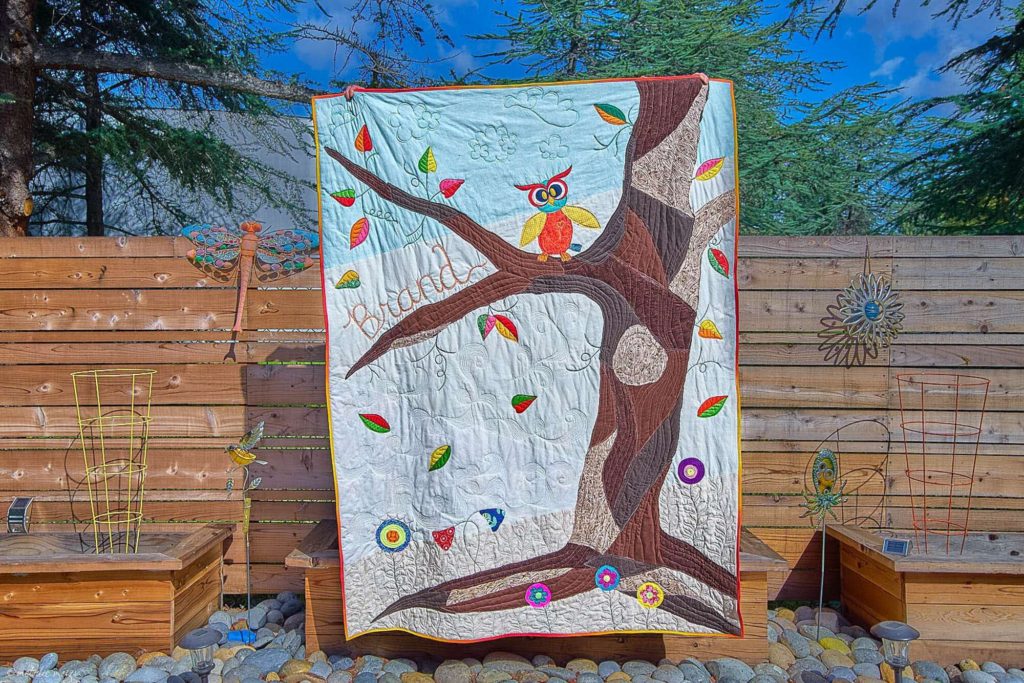
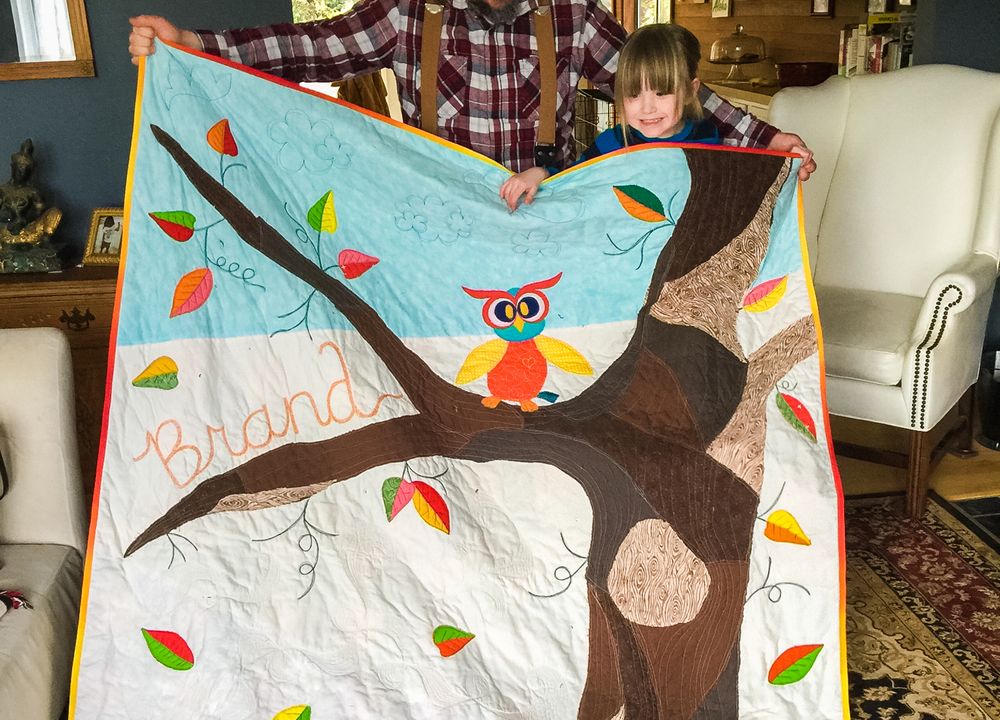
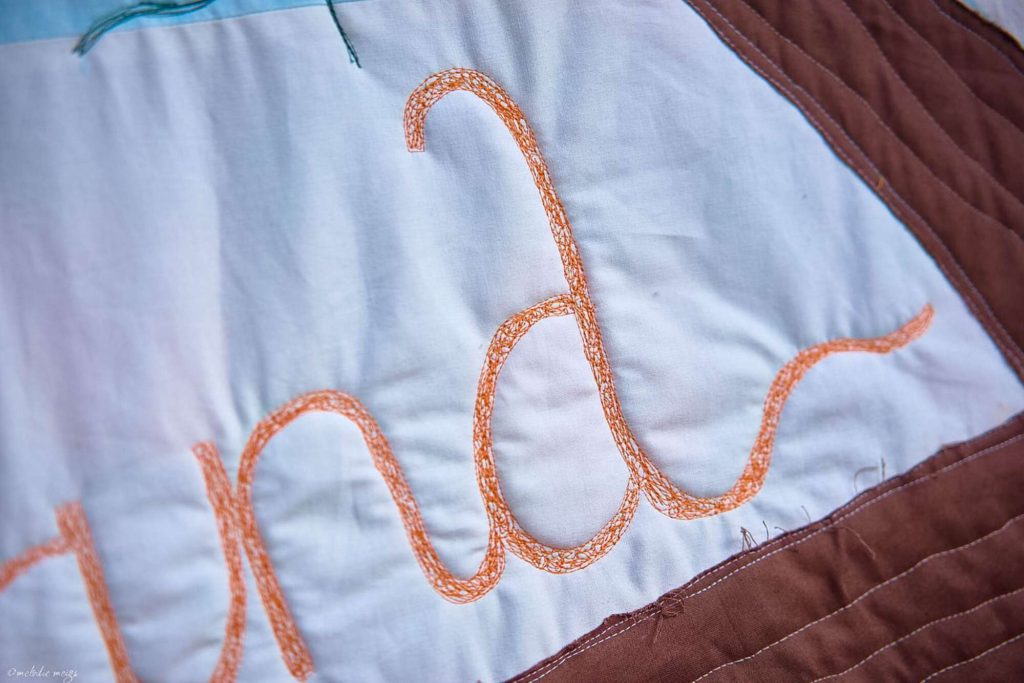
Our story starts with the protagonist Brand.  Age: 4yrs.  Lover of: everyone in the word, the forest, animals.  Favorite colors: orange, blue, green.

raw-edge applique quilt paper design
Initial quilt concept on 8.5″x11″ paper

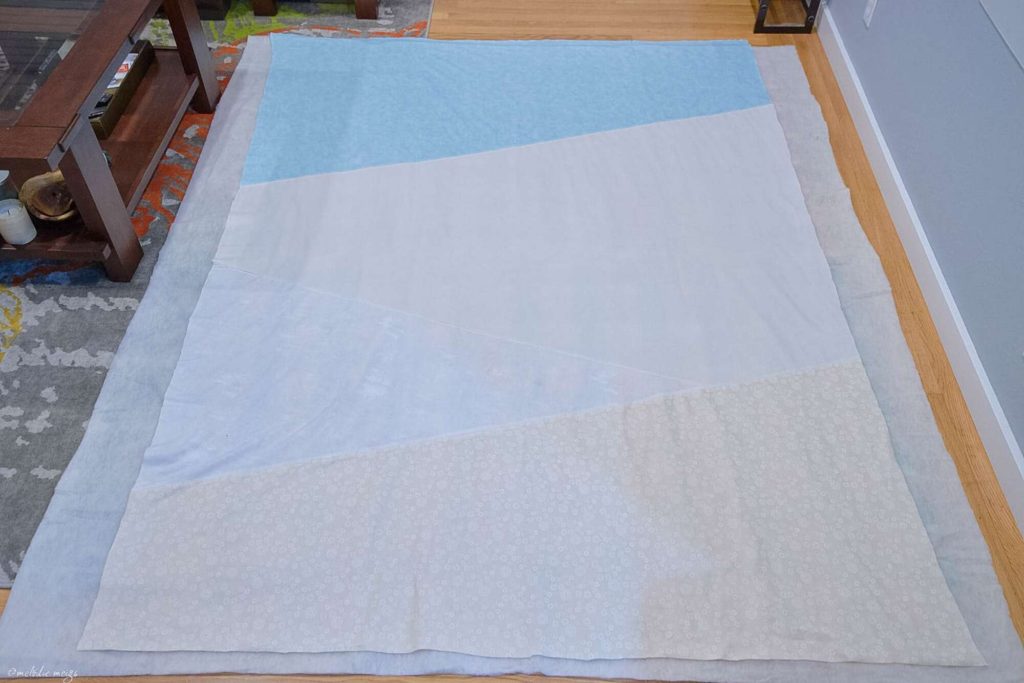
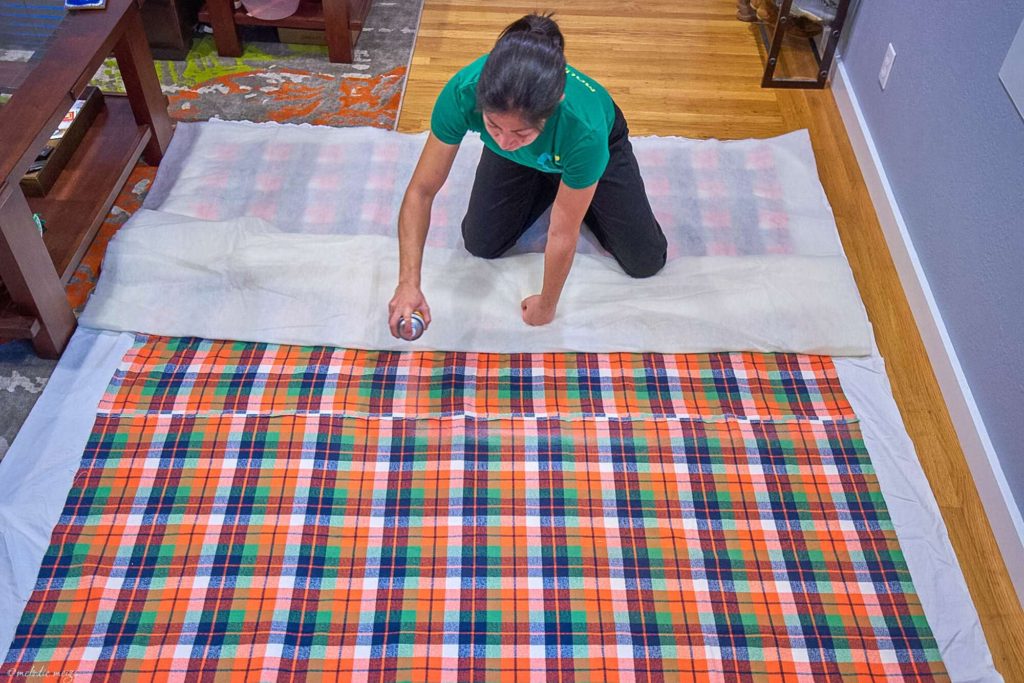
Step 1: Make the Quilt Sandwich

I started by making the sandwich (the bottom fabric, batting, top fabric temporarily adhered together), then I appliqued, then quilted; normally, you’d patchwork piece the top, then make the sandwich, and finally quilt.
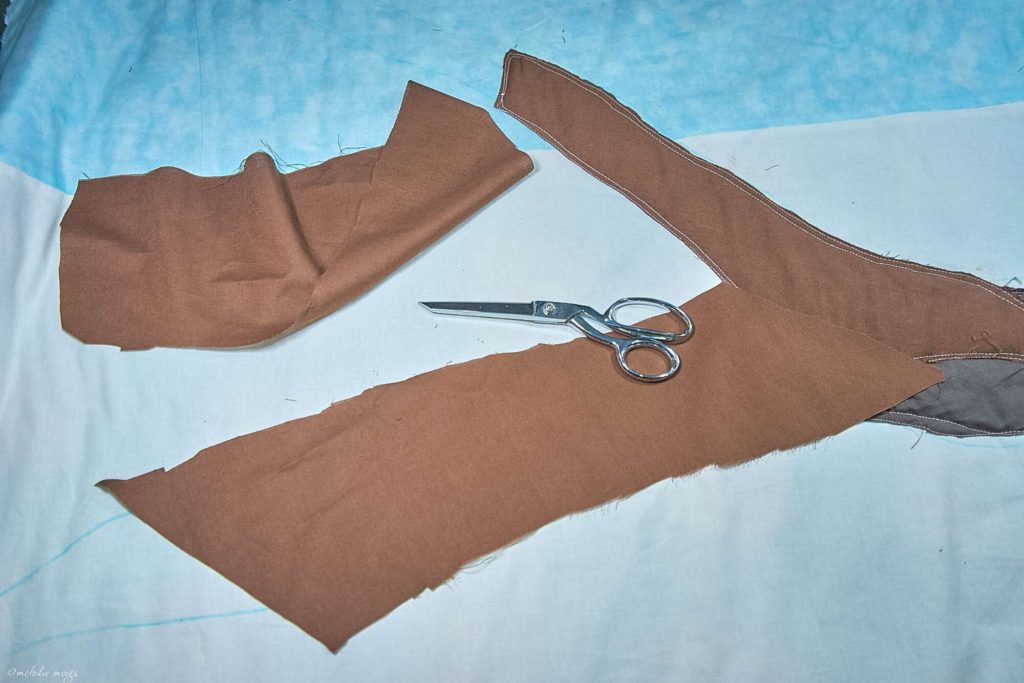
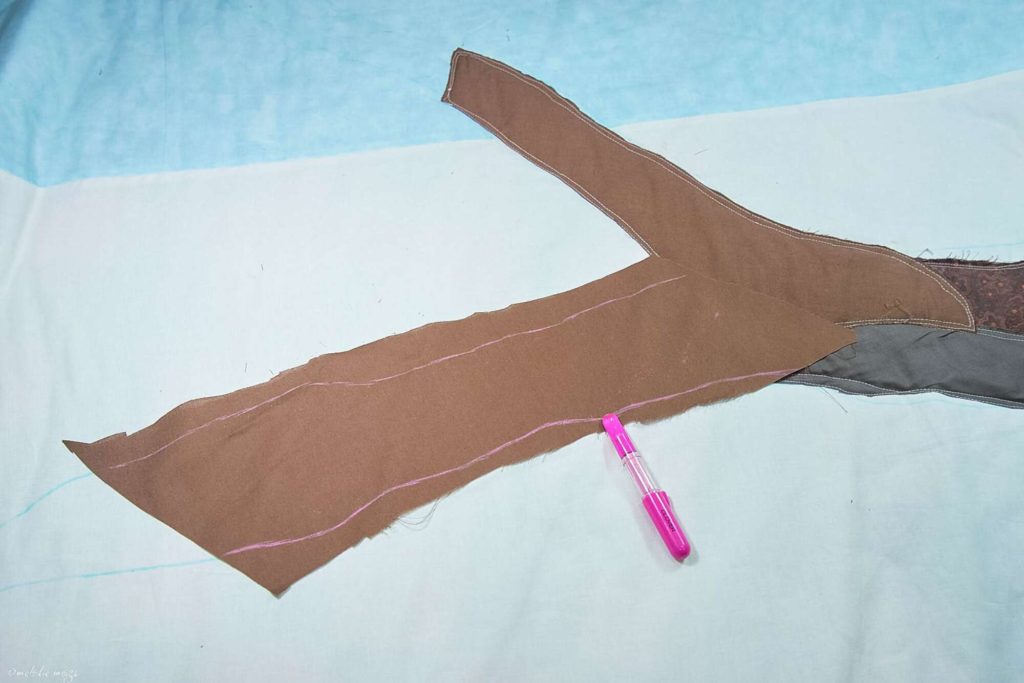
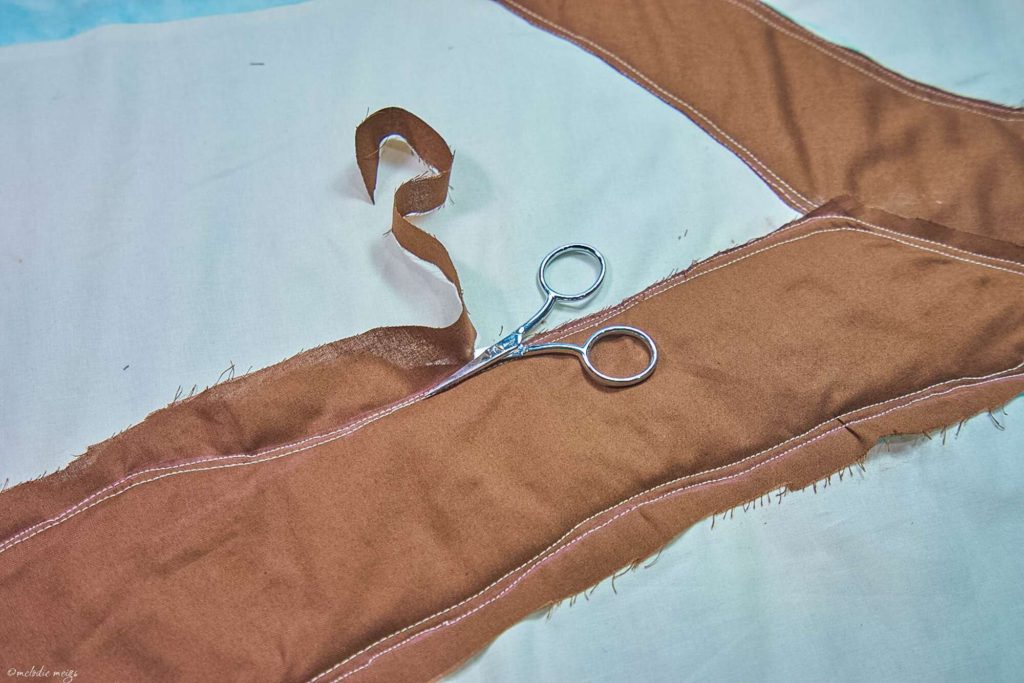
raw-edge applique quilt making sandwich
The quilt top, made of 4 different fabrics to add subtle differences for ground, air, and sky. It took a lot more than planned for amount of fabric and time to figure it out!
raw-edge applique quilt using string to lay out design
Question of the day: How to transfer an 8.5″x11″ design onto 60″x80″? String!
raw-edge applique quilt 1
Trace under string with water-soluble marker
raw-edge applique quilt making sandwich
Sandwich with temporary spray adhesive. It’s expensive but I can’t fathom using pins every 5 inches apart.

Step 2: Applique

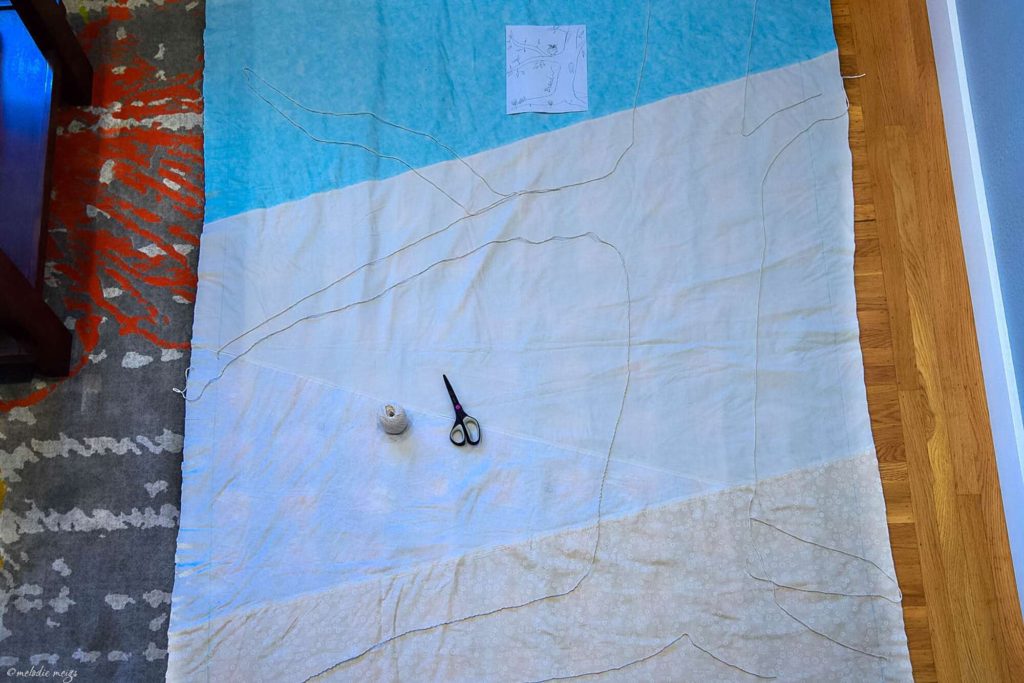
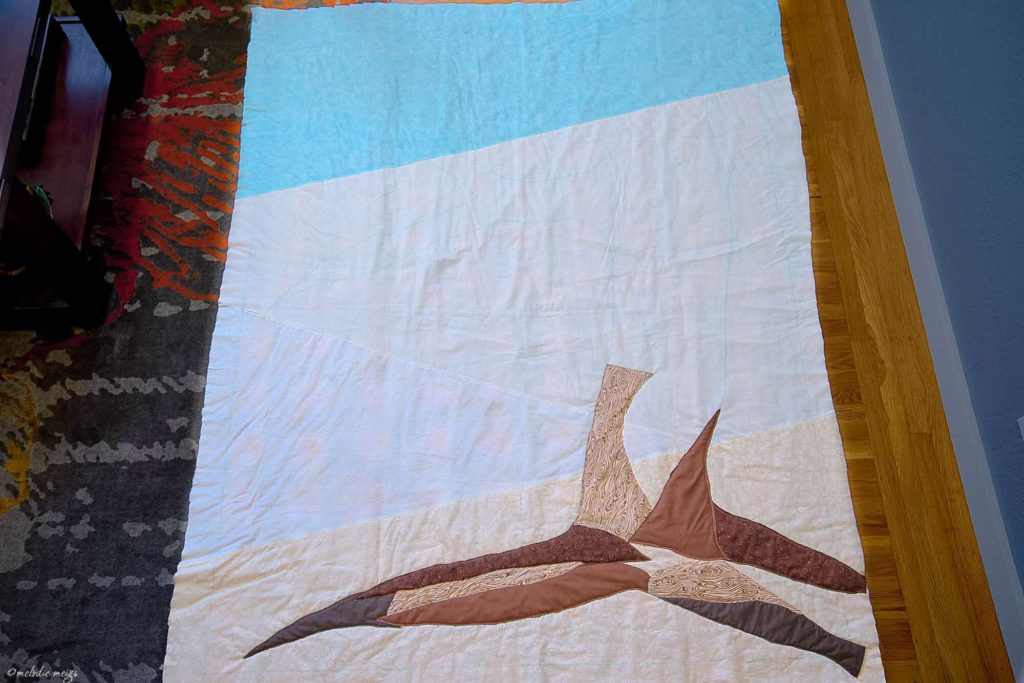
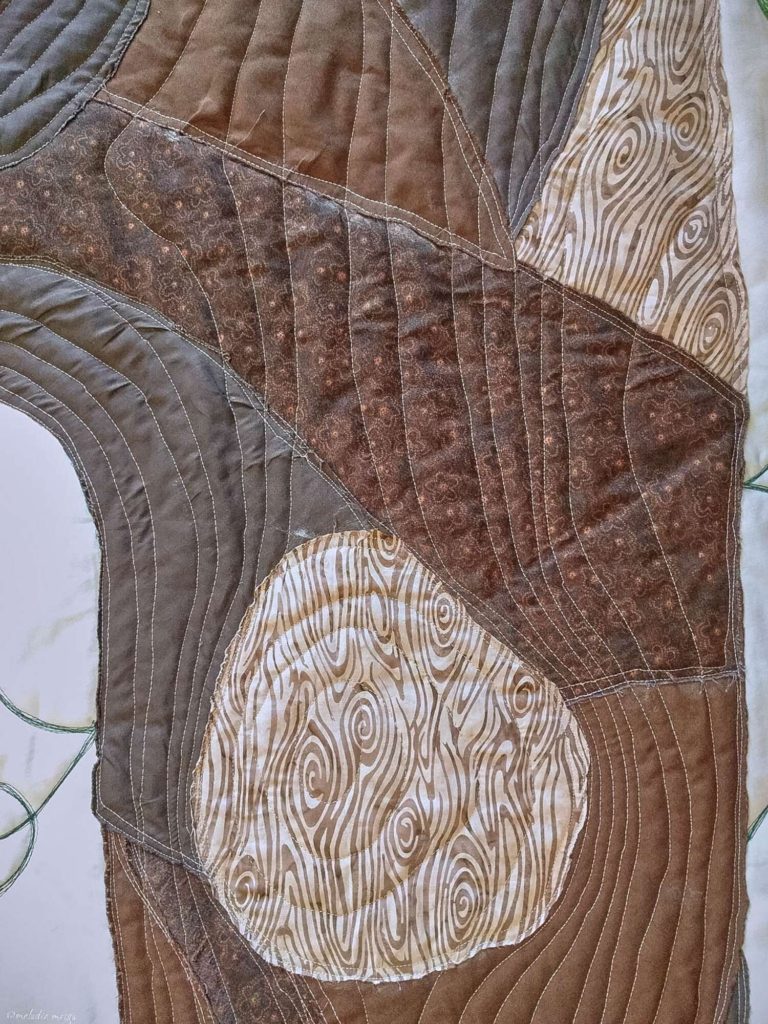
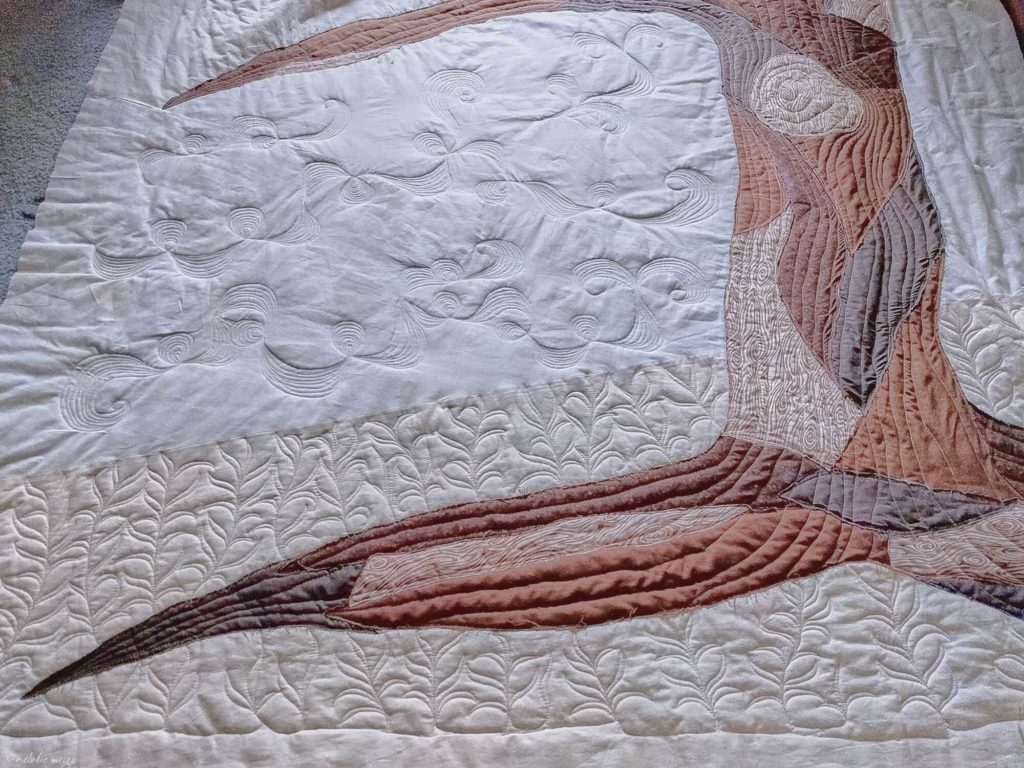
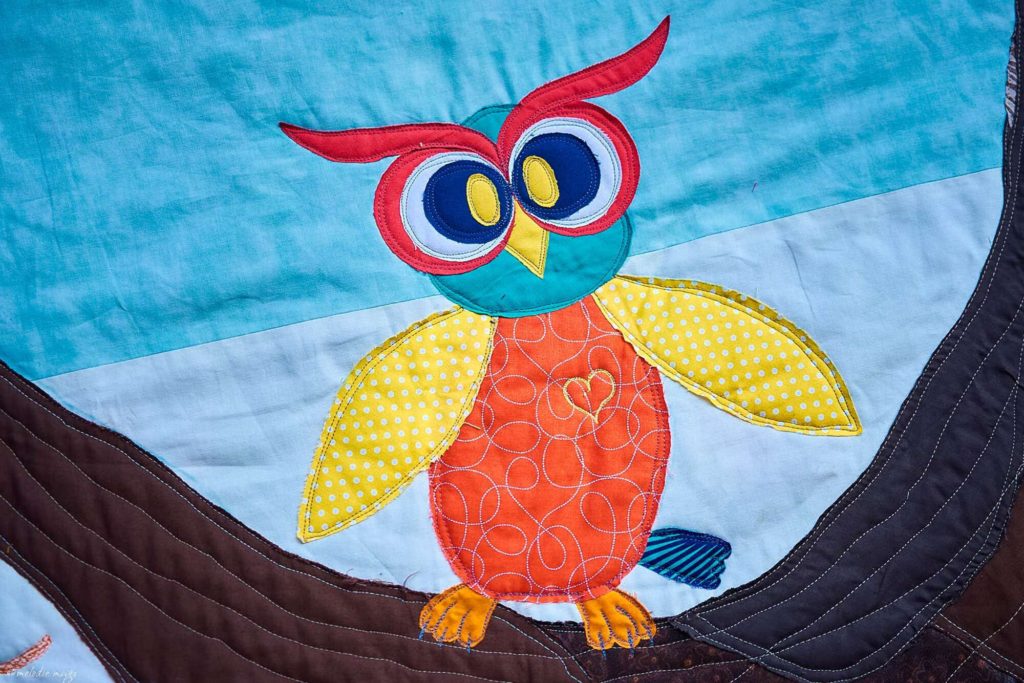
Every story needs an anchor.  Here we have a tree with strong roots, extending arms across the canvas.
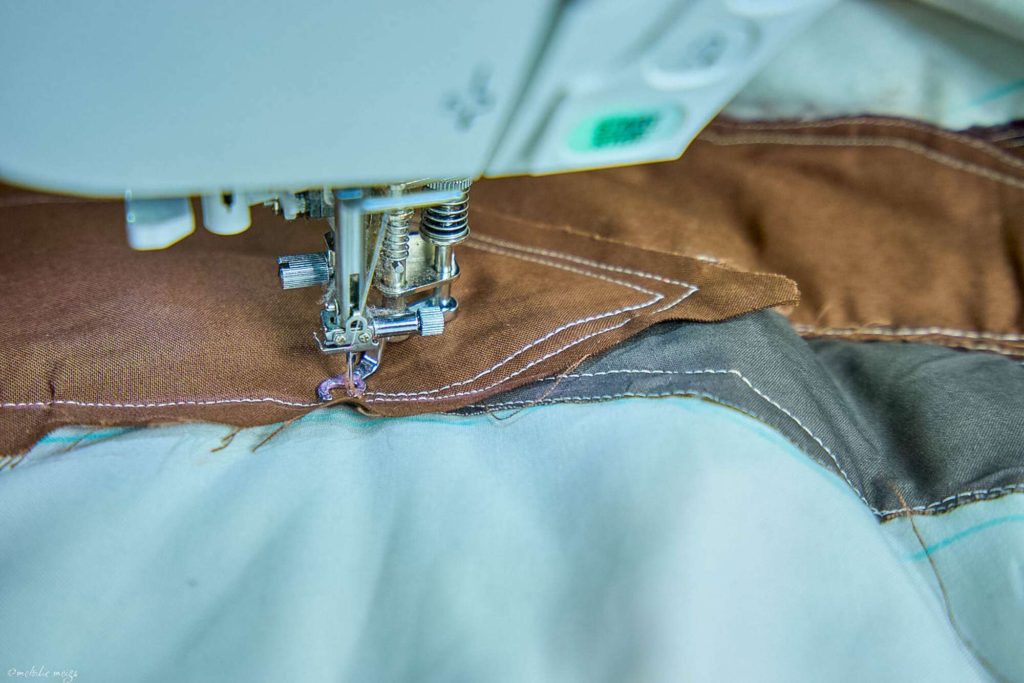
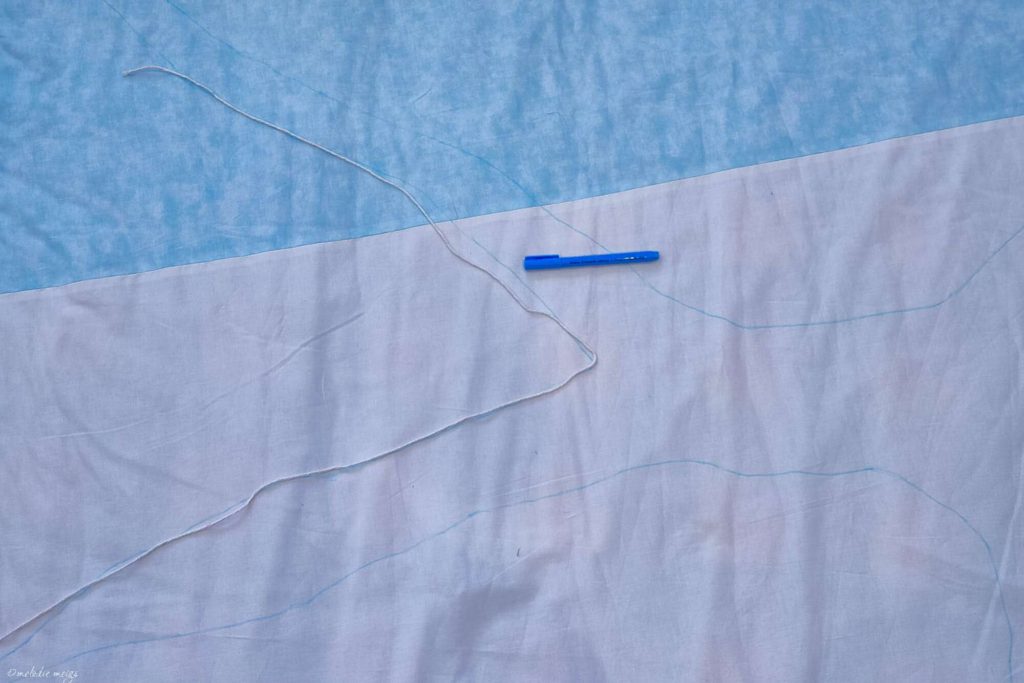
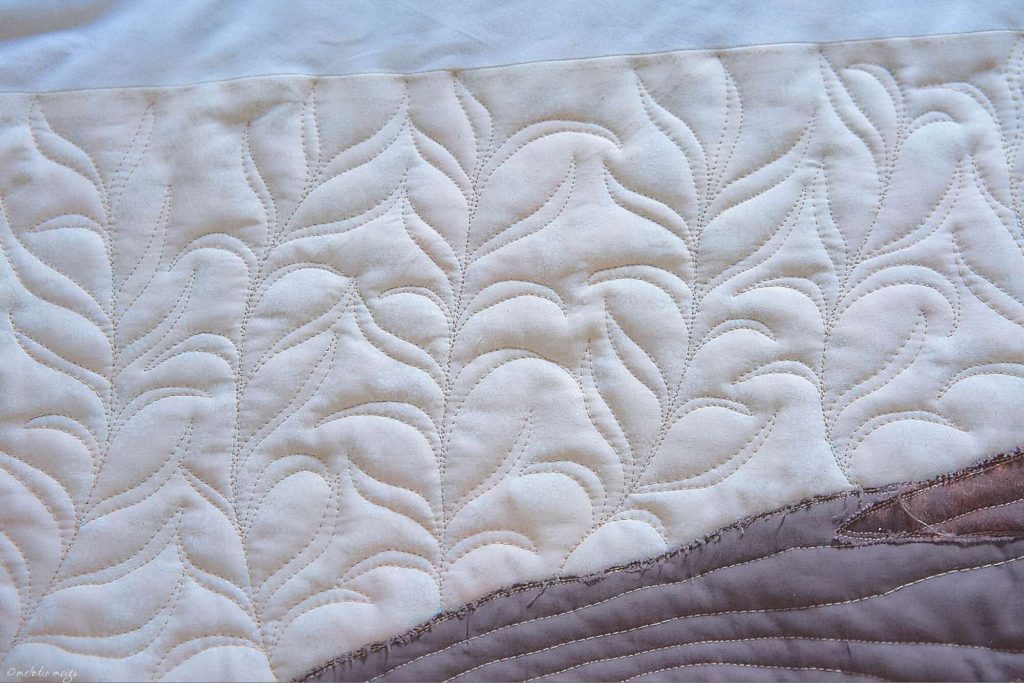
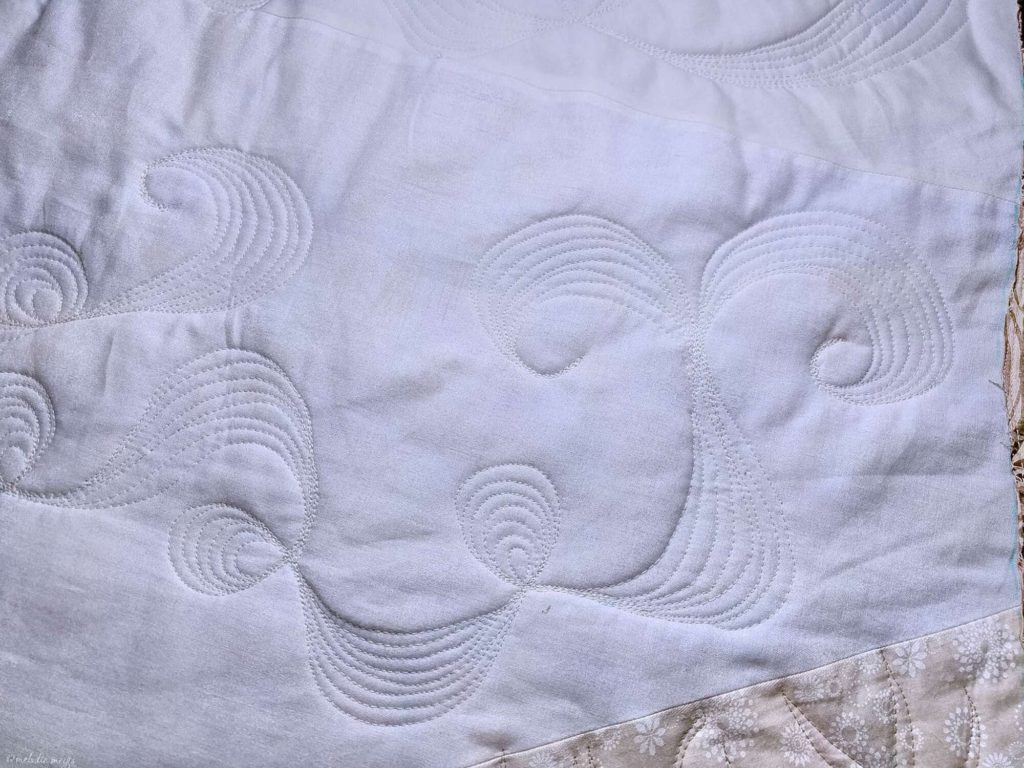
raw-edge applique quilt design
I made the tree out of 4 different fabrics using raw-edge applique.
raw-edge applique quilt cutting
 Cut a piece of fabric larger than the area you want to cover.
raw-edge applique quilt marking
Trace where you want to sew, then either pin down or paste down with washable glue stick.
raw-edge applique quilt sewing edge down
Sew on marking 2x, ~1/4″ apart. 
raw-edge applique quilt cutting edge of applique
Cut excess fabric, no closer than 1/4″ from thread or it’ll fray and come undone.
raw-edge applique quilt design
Keep layering

Step 3: Quilting

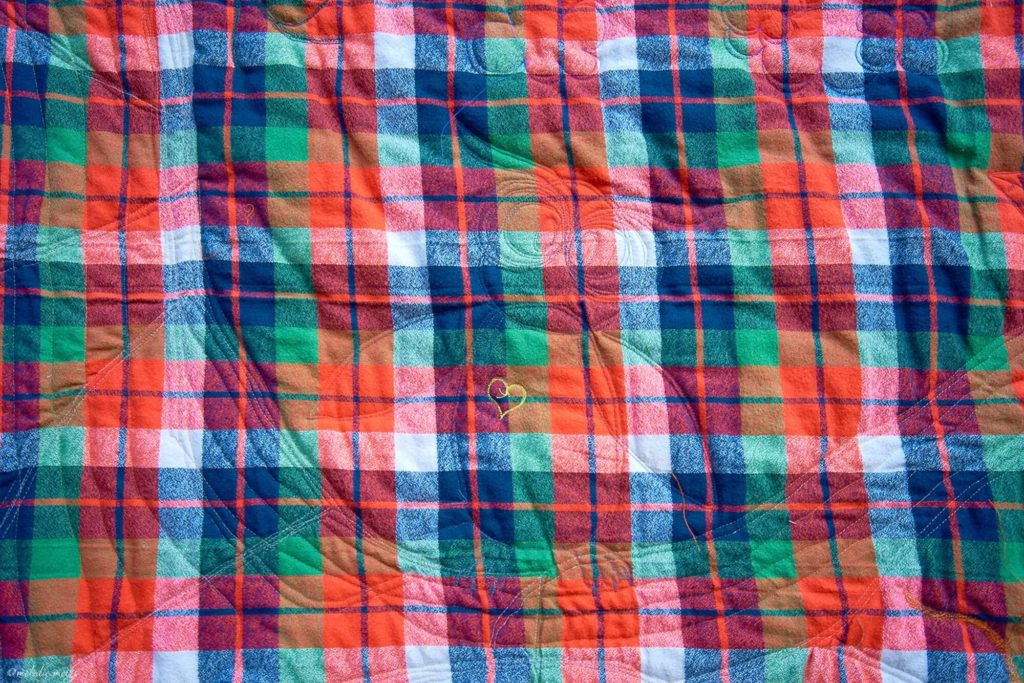
At this point, our story needs details; the foundation is laid, but it needs the journey between endpoints A and B.  Quilting provides the expression of details and emotion to the overall story.  It’s like the joy of finding something new when re-reading a book: inspected at different angles and distances, you should be able to find new quilting patterns.

raw-edge applique quilt bark
I quilted long lines inside the tree to accentuate its strength and height. I added a patch for a knot in the tree and had the bark moving around the applique.
raw-edge applique quilt foliage grass
Grass! The tan fabric formed the basis of the ground, but the quilt needed more around its roots.
raw-edge applique quilt quilting design wind
Wind! I wanted a more random and flowing design for the wind than an all-over pattern like the grass. It needed to feel like whisps of smoke blowing around the tree, like a crisp morning.
raw-edge applique quilt baby name
I wrote his name with a water-soluble marker, quilted around it twice 1/2″ apart, and then wiggled in between the lines.
raw-edge applique quilt close up name
raw-edge applique quilt foliage quilting
Major quilting done!

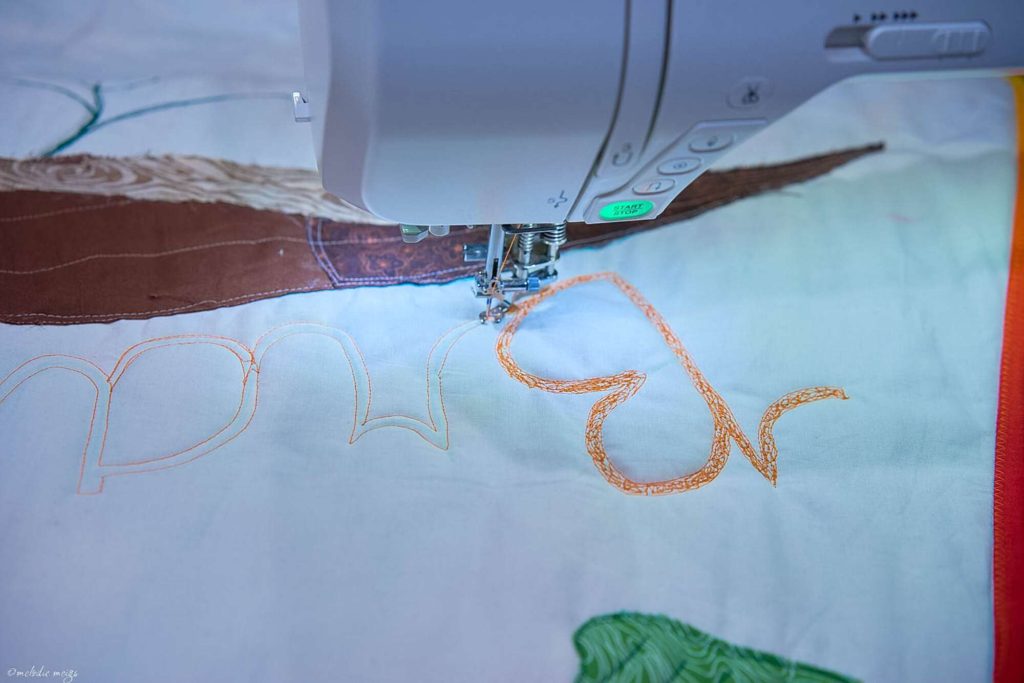
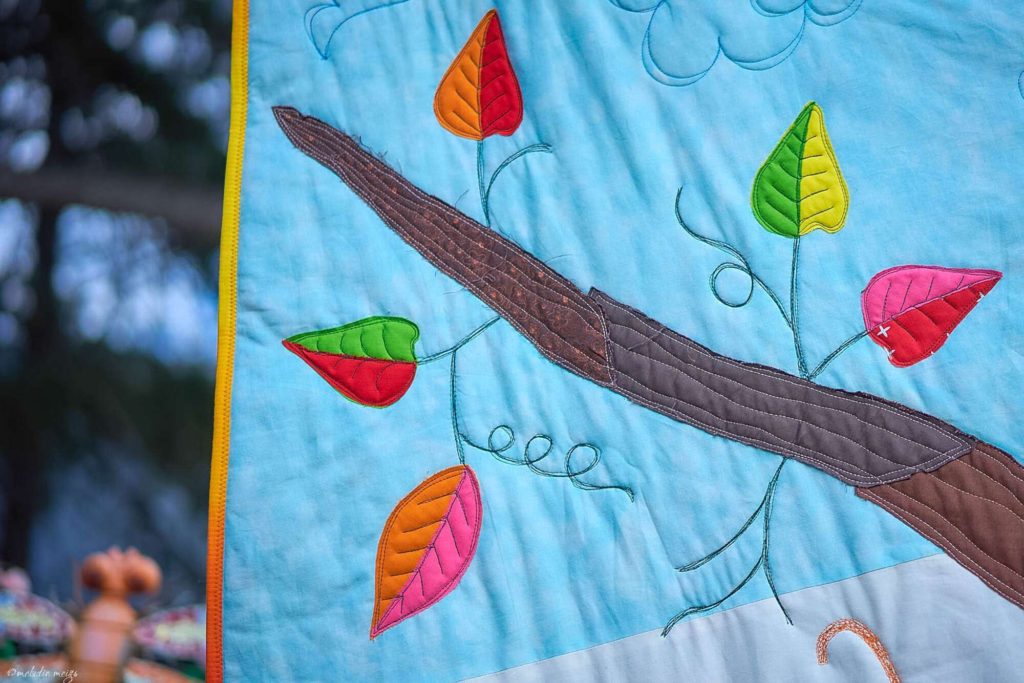
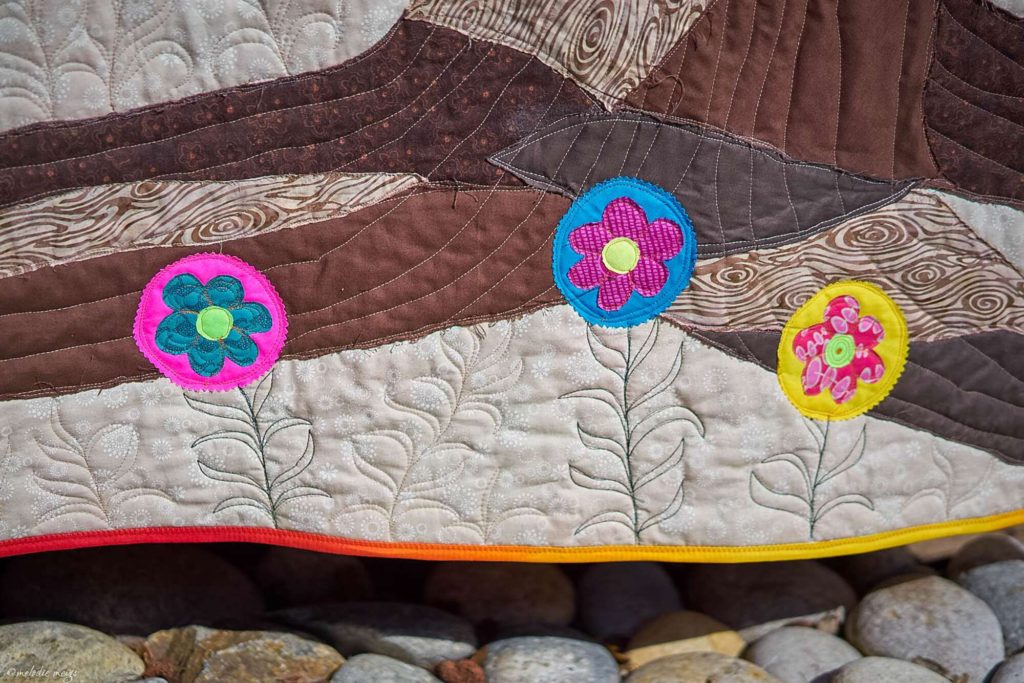
Step 4: Additional Details

Our story now needs bright colors. There’s a good outline and fillers with the grass and wind, but it’s missing a pop of excitement.

raw-edge applique quilt leaves
Each leaf is made out of 2 different fabrics, quilted with veins. I added the loopy-loops and stems off the tress, and had the wind carrying a few leaves.
raw-edge applique quilt flowers applique
Flowers. I went back and re-traced the grass with dark green to make the stems.
raw-edge applique quilt owl
Owl spirit animal, or pueo in Hawaiian, an ‘aumakua ancestor spirit, looking over the forest.

Step 5: Finish

raw-edge applique quilt
Yep, I’m proud of this one. First time doing large applique like this. The binding’s made out of a ombre fabric from red to orange to yellow and back, which happened to land at a multiple of 44″ (width of standard fabric), so you can’t even see where the ends meet!
raw-edge applique quilt back fabric
Brand’s orange, blue, green favorite colors: nailed this one in the backing! It took a fair amount of hunting to find. Robert Kaufman Mammoth Plaid Flannel. Very soft! I’m quite impressed. Highly recommend Kaufman flannels!


→ Explore more articles in Quilting & Sewing